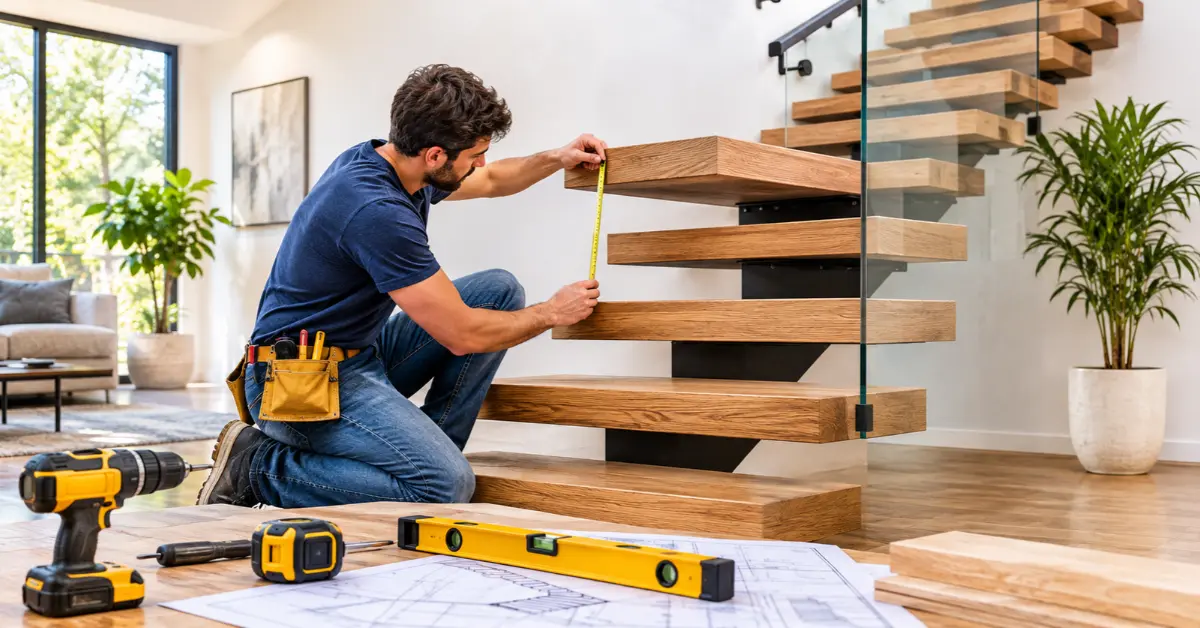
DIY floating stairs are realistic if you use an engineered kit or a stamped plan and anchor them into solid structure. They are risky if you design the steel yourself. A skilled DIYer can save roughly the installation labor, often $3,000 to $7,000, but the structure, the anchors and the railing still need to meet local code.
Which Parts You Can DIY and Which You Should Not
Most failed projects go wrong in the same few places. Split the job honestly before you buy anything.
| Task | DIY-friendly? | Why |
|---|---|---|
| Measuring and drawing the layout | Yes | Costs nothing and prevents expensive errors |
| Choosing treads, finish and railing style | Yes | Design decisions, no structural risk |
| Sanding, staining and sealing treads | Yes | Easier before installation |
| Setting an engineered kit from the manual | Yes, with experience | The engineering is already done |
| Anchoring the stringer or wall brackets | Only with proper structure | Load goes into framing, steel or concrete |
| Designing your own steel or cantilever system | No | Needs an engineer |
| Glass railing installation | Usually no | Heavy, unforgiving, and often needs pro handling |
| Final permit and inspection | Must be done | Not optional |
DIY Floating Staircase Kit vs Building from Scratch
A DIY Floating Stairs kit arrives with a pre-engineered support system, hardware and instructions. Building from scratch means you design the load path yourself, which is the part that separates a stair that feels solid from one that moves.
| Option | Typical cost (estimate) | Risk level | Best for |
|---|---|---|---|
| Rise DIY Floating Stairs kit or similar engineered kit | $2,500 to $8,000 | Lower | Straight runs, experienced DIYers |
| Kit plus a hired installer | $4,000 to $13,000 | Lowest | Most homeowners |
| Self-designed steel and wood stair | $3,000 to $9,000 in materials | High | Qualified fabricators only |
| Fully custom installed stair | $15,000 to $60,000+ | Lowest | Complex or luxury projects |
These are planning ranges. Check each kit’s maximum tread length, floor-to-floor height and load rating before you commit.
Step 1: Do the Rise and Run Math First
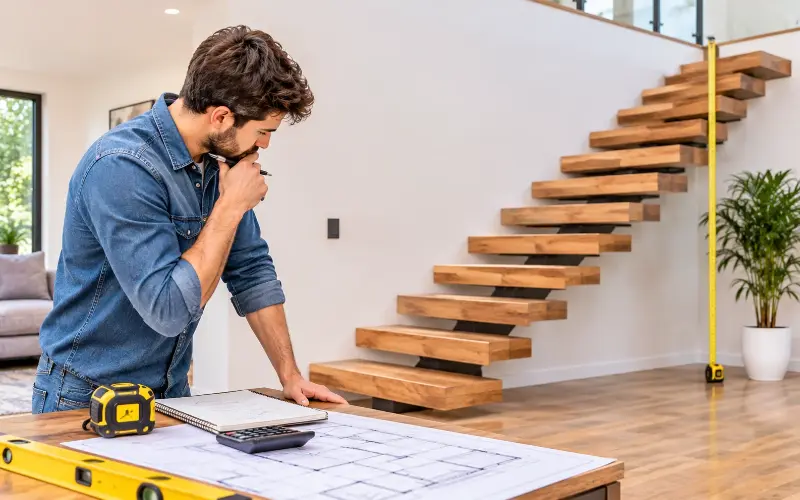
This is the calculation most guides skip. Start with the finished floor-to-finished floor height.
Take a 108 inch floor-to-floor height. Divide by 7.5 inches and you get 14.4, so round up to 15 risers. That makes each riser 7.2 inches. A stair with 15 risers has 14 treads. At a run of 10 to 11 inches per tread, you need roughly 140 to 154 inches of horizontal length, which is about 11 feet 8 inches to 12 feet 10 inches.
If your opening is shorter than that, a straight floating stair will feel steep. You then need a landing, a turn or a different location.
Step 2: Check the Code Numbers That Shape Your Design
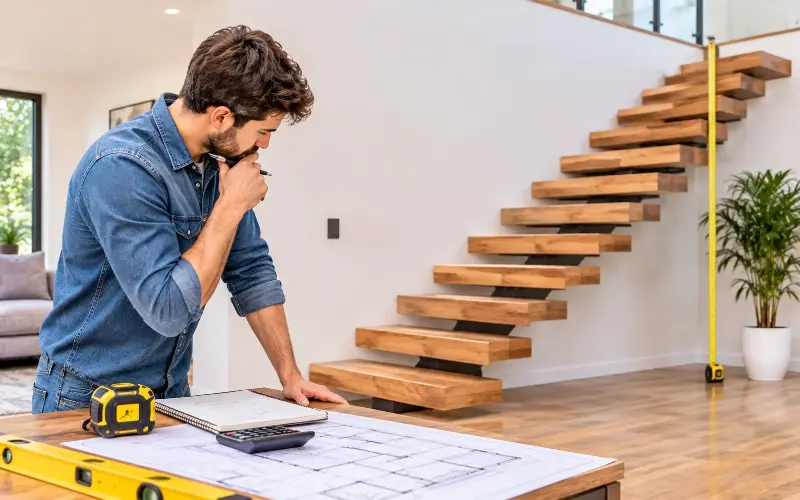
Residential codes based on the IRC commonly include these limits. They vary by city and state, so confirm them with your building department.
| Item | Common IRC-based requirement |
|---|---|
| Maximum riser height | About 7 3/4 inches |
| Minimum tread depth | About 10 inches |
| Minimum headroom | About 6 feet 8 inches |
| Minimum stair width | About 36 inches |
| Open riser gap | Must stop a 4 inch sphere |
| Handrail height | About 34 to 38 inches |
| Tread load | Commonly designed for a 300 lb concentrated load |
The open riser rule is where floating stairs trip up. Thin treads with wide gaps can fail the sphere test, so plan tread thickness and spacing together.
Step 3: Confirm What the Stair Will Be Attached To
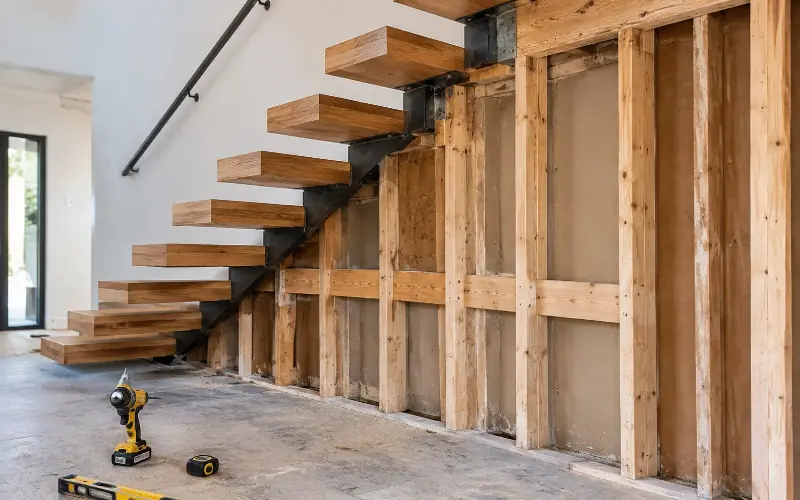
Every tread load has to travel into something real. Drywall is not structural, and a stud wall is only good if the studs and blocking are in the right place.
Check three things before ordering:
- Top connection: Is there a floor joist or header where the upper end will bolt in?
- Bottom connection: Is the floor a concrete slab or a wood subfloor? Concrete usually needs mechanical or epoxy anchors. Wood needs blocking.
- Wall-mounted designs: Wall-hung treads typically need structural framing or a steel plate behind the wall, not just standard studs at 16 inches.
Expert note: The first thing I would check on any DIY floating stair is what sits behind the finished wall. A beautiful stair can fail on day one if the anchors only reach drywall and a thin stud. Open the wall, look, and photograph it before you order anything.
Step 4: Build and Install It, Step by Step
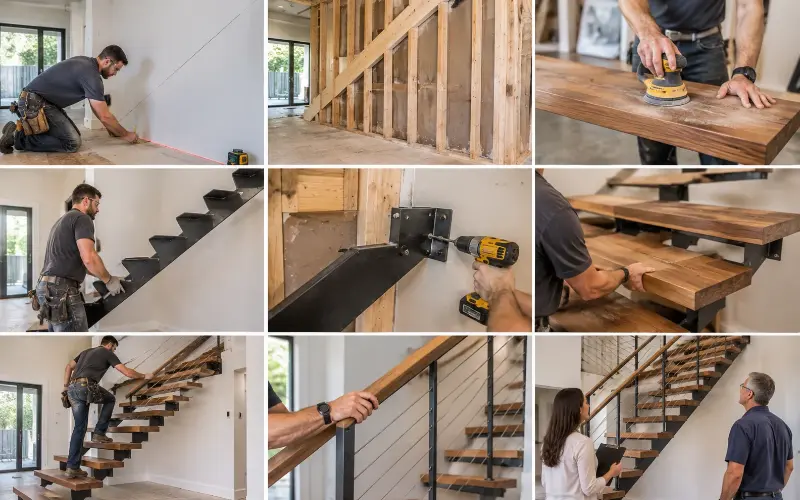
This sequence works for a typical kit-based mono stringer stair. Always follow your kit’s manual over any general guide.
- Mark the layout. Snap lines for the stringer centerline and tread positions on the floor and wall. Check plumb and level twice.
- Prepare the structure. Add blocking, confirm joist locations and set the opening dimensions.
- Finish the treads first. Sand, stain and seal all sides, including the underside and ends. Wood moves with humidity, and unsealed treads often cup.
- Set the stringer. Position it, shim it and check that it is plumb and aligned with your layout lines.
- Anchor it. Fasten the base and top connections with the hardware and spacing the engineer or manufacturer specifies.
- Mount the tread brackets. Install them to the stringer per the manual, dry-fit each tread, then fasten.
- Check movement. Walk each tread. If any feel soft or twist, stop and fix the connection before adding railing.
- Install the railing. Handrail and guard posts need their own structural backing and must be installed to code height.
- Schedule the inspection. Do not finish walls or trim around anchors until the inspector has seen them.
Tools You Will Actually Need
A basic homeowner toolbox is not enough. For a kit install, plan on the following:
| Tool | What it is for |
|---|---|
| Laser level and 4 foot level | Layout and plumb checks |
| Hammer drill with masonry bits | Anchoring into concrete |
| Torque wrench or socket set | Tightening structural bolts to spec |
| Stud finder and moisture meter | Finding framing and checking wood |
| Shims, clamps and a helper (or two) | Holding and aligning heavy parts |
| Safety glasses, gloves and dust mask | Drilling and steel handling |
Steel stringers can be heavy, so do not attempt the lift alone.
Common DIY Mistakes That Cost Real Money
- Ignoring finished floor thickness. Add flooring height before dividing into risers, or the last riser will not match.
- Buying treads before the system. Tread thickness and bracket type must match.
- Skipping tread sealing. Stain only the top and the bottom will absorb moisture unevenly.
- Leaving railing to the end. Posts often need blocking that is easiest to add early.
- Copying a photo. Many viral floating stair photos are cantilevered, which needs engineered wall structure.
When to Stop and Call an Engineer
Hire a structural engineer or switch to a professional installer if any of these apply:
- You are attaching to a wall you cannot verify.
- The design is cantilevered from a wall.
- The stair is exterior, where weather and corrosion add complexity.
- The treads are longer than the kit’s rated length.
- Headroom or opening size is borderline.
- You are using glass railing.
A short engineering review costs far less than a failed inspection or a rebuild.
Design Choices Worth Making Early
If you are still deciding on the look, browse our floating stairs examples to compare tread thickness, railing style and finish in real rooms before you finalize your order.
FAQ on DIY Floating Stairs
Can a beginner install floating stairs?
A confident DIYer with framing experience can install a kit. A true beginner should hire an installer for the anchoring and railing steps.
How long does DIY floating stair installation take?
Plan on a weekend or two for a straight kit, plus time for finishing treads. Landings and railings add time.
Do I need a permit for DIY floating stairs?
In most US jurisdictions, yes. Stairs are a safety element, so inspectors usually review them.
What wood is best for floating stair treads?
Hardwoods such as white oak, red oak and maple are common because they handle foot traffic and hold fasteners well.
How thick should floating stair treads be?
Many residential stairs use treads from about 1 3/4 to 3 inches thick, depending on span and the bracket system. Follow the kit’s specification.
Can I attach floating stairs to drywall?
No. Drywall cannot carry the load. Anchors must reach framing, steel or concrete.
Is a DIY floating stair cheaper than hiring a pro?
Usually it is cheaper in labor, but not always overall. Mistakes, rework and engineering fees can erase the savings.
Can I build outdoor floating stairs myself?
It is possible, but weather, corrosion and slip resistance add risk. Most people should get engineering review for exterior stairs.