Building a DIY outdoor fireplace is one of the best ways to turn an ordinary backyard into a warm and inviting outdoor retreat. Whether you enjoy quiet evenings with family or entertaining friends on weekends, a fireplace instantly creates a cozy atmosphere that people naturally gather around. The best part is that you do not always need expensive contractors to make it happen.
Many homeowners think a DIY outdoor fireplace is too difficult or costly to build, but that is not always true. With the right planning, materials, and simple guidance, even beginners can create a beautiful backyard centerpiece without spending a fortune. From modern designs to rustic stone styles, there are endless ways to customize the project to match your outdoor space.
In this guide, you will learn everything you need to know about building a DIY outdoor fireplace, including design ideas, material choices, costs, safety tips, and beginner-friendly construction advice. We will also cover important details that many other articles miss, helping you avoid common mistakes and build a fireplace that looks amazing and lasts for years.
Why Build a DIY Outdoor Fireplace?
A DIY outdoor fireplace is more than just a weekend project. It changes how you use your outdoor space.
Key Benefits
- Creates a cozy outdoor living area
- Increases property value
- Extends outdoor use into cold seasons
- Works as a design focal point
- Can be built on a budget with DIY methods
Most home owners choose DIY because it can save thousands of dollars compared to contractor builds.
Planning Your DIY Outdoor Fireplace
Before you start building, proper planning is essential. This step is often skipped or poorly explained by competitors.
Choose the Location Carefully
Pick a spot that is:
- At least 10–20 feet away from your house (check local codes)
- Not under low tree branches
- Sheltered from strong wind
- Visible from seating areas
Check Local Building Codes
You may need:
- Fire permits
- HOA approval
- Minimum chimney height requirements
- Spark arrestor installation
Ignoring this step can lead to fines or rebuilds.
Best Materials for a DIY Outdoor Fireplace
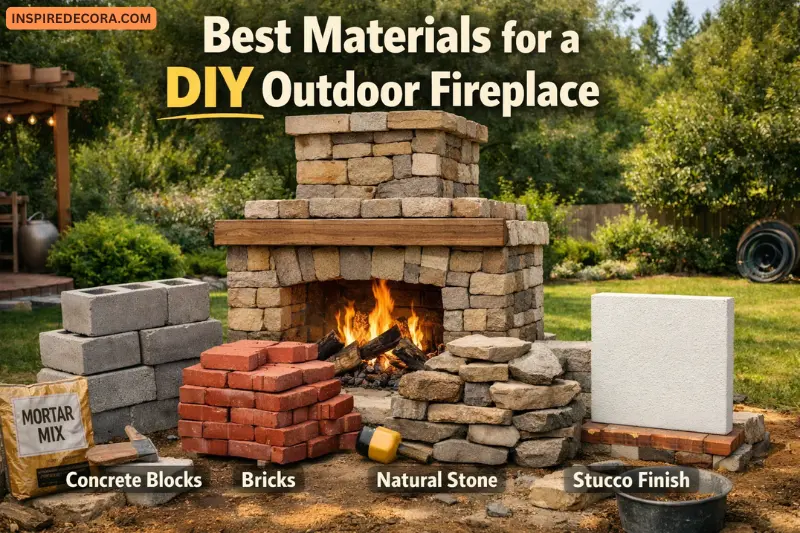
Choosing the right materials affects durability, cost, and safety.
Common Materials
Concrete Blocks (Best for DIY)
- Affordable and widely available
- Easy to stack and modify
- Needs exterior veneer for aesthetics
Brick
- Classic and durable
- Heat resistant
- More expensive and time-consuming
Natural Stone
- Premium appearance
- Very durable
- Higher cost and skill required
Stucco Finish
- Modern look
- Works over concrete block
- May need maintenance over time
DIY Outdoor Fireplace Cost Breakdown (2026)
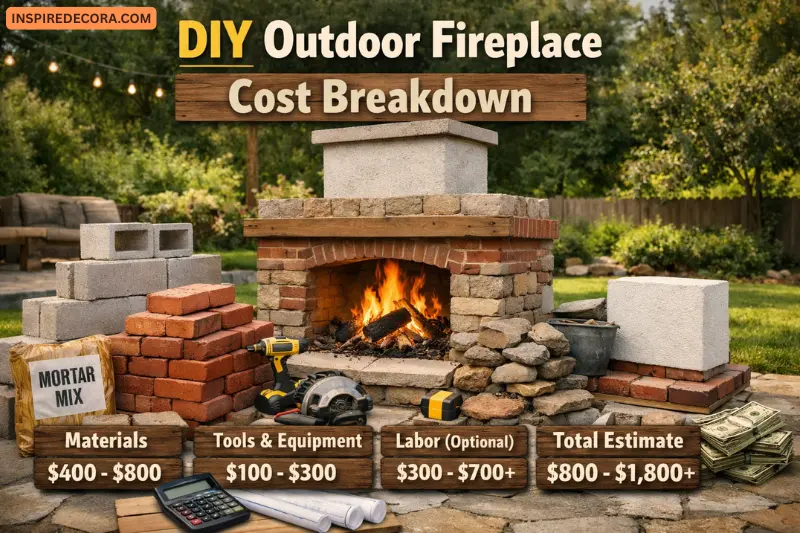
One of the biggest gaps in competitor content is real cost clarity.
Average Cost Estimates
DIY Build:
$800 – $3,500 (materials only)
Contractor Build:
$5,000 – $12,000+
Cost Includes:
- Blocks/brick/stone
- Cement & mortar
- Firebrick (for firebox)
- Steel lintel or support
- Foundation concrete
- Veneer or finish
Optional Costs:
- Chimney extension
- Gas line installation
- Lighting
- Outdoor seating area
DIY builds save up to 60–75% of total cost
Step-by-Step: How to Build a DIY Outdoor Fireplace
This is a simplified but practical construction overview.
Step 1: Build a Strong Foundation
A weak base leads to cracks later.
You need:
- 4–8 inches of reinforced concrete
- Gravel base underneath
- Level surface
Let it cure for at least 48–72 hours.
Step 2: Lay the First Course of Blocks
- Mark your fireplace outline
- Dry-fit blocks first
- Ensure perfect alignment
This step controls the entire structure’s accuracy.
Step 3: Build the Firebox
The firebox is the core of your fireplace.
Important features:
- Use firebrick lining inside
- Leave proper airflow space
- Install a steel lintel above opening
Tip: Firebox size affects smoke flow more than most beginners realize.
Step 4: Construct the Smoke Chamber
This area controls smoke direction.
Best practices:
- Gradually slope inward
- Avoid sharp internal corners
- Keep airflow smooth
Poor smoke chamber design = smoke coming toward you.
Step 5: Build the Chimney
- Keep it vertically straight
- Minimum height improves draft
- Add spark arrestor if required
A taller chimney = better smoke control.
Step 6: Add Exterior Finish
Now you can style your fireplace.
Options:
- Stone veneer (premium look)
- Stucco (modern finish)
- Brick facing (classic style)
This is where your design comes alive.
Outdoor Fireplace Design Ideas
Here are modern ideas competitors often don’t explain well:
Modern Minimalist Fireplace
- Clean lines
- Smooth stucco finish
- Built-in LED lighting
Rustic Stone Fireplace
- Natural rock finish
- Heavy timber seating
- Warm handcrafted feel
Fireplace with Seating Wall
- Built-in benches
- Saves space in small yards
- Perfect for gatherings
Outdoor Fireplace with TV
- Entertainment-focused setup
- Covered patio recommended
- Popular in modern homes
Corner Fireplace Design
- Space-saving layout
- Ideal for small backyards
Outdoor Fireplace vs Fire Pit
Many people confuse these two.
| Feature | Fireplace | Fire Pit |
| Smoke control | Better | Less control |
| Heat direction | Forward | 360° |
| Design impact | High | Medium |
| Cost | Higher | Lower |
A fireplace is better for structured outdoor living spaces.
Safety Tips You Must Follow
Most competitors skip deep safety guidance.
- Important Safety Rules:
- Keep fire extinguisher nearby
- Use spark arrestor on chimney
- Never build under low branches
- Maintain safe seating distance (3–6 feet minimum)
- Use fire-rated materials only inside firebox
Common Mistakes to Avoid
- Skipping foundation reinforcement
- Using regular bricks inside firebox
- Poor chimney height planning
- Ignoring wind direction
- Overcomplicating firebox shape
- Not checking building codes
Maintenance Tips
To keep your fireplace long-lasting:
- Clean ash after each use
- Inspect chimney monthly
- Seal stone or stucco yearly
- Cover during heavy rain seasons
- Check for cracks in mortar
FAQs – DIY Outdoor Fireplace
What is the easiest type of DIY outdoor fireplace to build?
The easiest option is a concrete block fireplace with a stucco or stone veneer finish. It requires fewer complex cuts and is beginner-friendly.
How much does a DIY outdoor fireplace cost?
A typical DIY outdoor fireplace costs $800 to $3,500 depending on materials like block, brick, stone, and finish choices.
Do I need a permit to build an outdoor fireplace?
In many areas, yes. You may need a building permit, fire permit, or HOA approval, depending on local regulations.
How long does it take to build a DIY outdoor fireplace?
Most DIY builds take 2 to 5 days of work, plus additional curing time for concrete and mortar.
What is the best material for a DIY outdoor fireplace?
Concrete blocks with firebrick lining are the most practical for DIY builds. They are affordable, strong, and easy to work with.
Can I build a DIY outdoor fireplace on my own?
Yes, many homeowners do it themselves using step-by-step plans. However, you may need help for lifting heavy materials or placing the chimney cap.
What is the difference between a fire pit and an outdoor fireplace?
A fire pit is open and provides 360° heat, while an outdoor fireplace directs heat forward and offers better smoke control and structure.
How do I stop smoke from blowing out of my fireplace?
Proper chimney height, correct firebox design, and good airflow balance help prevent smoke issues. Wind direction also plays a major role.
What is the best location for an outdoor fireplace?
Choose a spot that is:
Away from the house (10–20 feet minimum)
Not under trees
Sheltered from strong wind
Visible from seating areas
Can I add gas to a DIY outdoor fireplace later?
Yes, but it’s better to plan it early. Adding gas later may require professional installation and additional permits.
Conclusion
A DIY outdoor fireplace is one of the most rewarding backyard upgrades you can build. It combines functionality, beauty, and long-term value while saving significant money compared to hiring a contractor.
By focusing on proper planning, correct materials, strong foundation work, and safe construction practices, even beginners can build a fireplace that looks professional and lasts for years.
If you follow the right steps and avoid common mistakes, your backyard can become a warm, stylish outdoor living space you’ll enjoy year-round.