You do not need to spend thousands to make your bathroom look and feel completely different. Cheap bathroom renovations, done right, can turn a tired, outdated space into something you genuinely love — without gutting your savings or living through months of construction. This guide covers everything your competitors leave out: real cost breakdowns, material comparisons, a decision framework for what to DIY vs. hire out, and the hidden costs that quietly blow budgets.
Let’s get into it.
Why Cheap Bathroom Renovations Are More Achievable Than You Think
Most homeowners assume a bathroom upgrade means a full gut renovation. It does not. The average full bathroom remodel costs between $6,000 and $16,000 — but a smart, targeted refresh can cost well under $1,000 and deliver nearly the same visual impact.
The key is knowing which changes give you the most return for the least money. Paint, hardware, lighting, and accessories change how a bathroom looks and feels far more than their price tags suggest. Cheap bathroom renovations work because bathrooms are small — even modest upgrades cover the whole space quickly.
The Budget-Tier Framework: Know Before You Start
Most guides skip this part. Before you pick out tiles or paint colors, decide which renovation tier fits your situation.
Tier 1 — Cosmetic Refresh ($100–$500)
- New accessories: towel bars, soap dispensers, toilet paper holder
- Fresh coat of paint
- New mirror or mirror frame
- Updated shower curtain and bath mat
- New cabinet hardware
Tier 2 — Moderate Upgrade ($500–$1,500)
- Replace vanity light fixture
- Resurface or paint vanity cabinets
- Install peel-and-stick floor tiles
- Replace faucet
- Add open shelving
Tier 3 — Deep Refresh ($1,500–$3,000)
- Replace vanity unit
- Re-tile shower or floor
- Install new toilet
- Add wall panelling or beadboard
- Replace exhaust fan
Understanding your tier prevents overspending and helps you prioritize the upgrades that matter most.
10 Cheap Bathroom Renovations That Deliver Big Impact
1. Paint the Walls
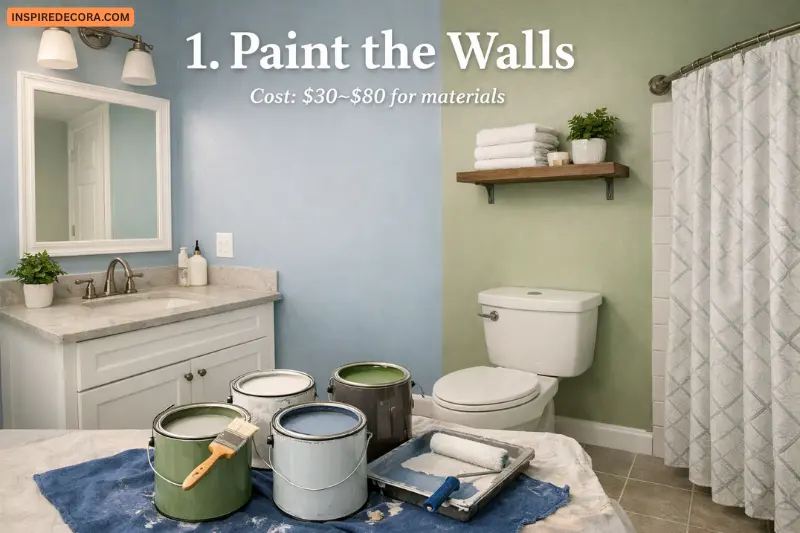
Fresh paint is the single most cost-effective cheap bathroom renovation you can make. A gallon of bathroom-specific paint costs $25–$45 and transforms the entire atmosphere of the room. Always use paint formulated for high humidity — regular wall paint peels and grows mold in bathrooms.
Best colors for small bathrooms: soft white, sage green, warm gray, pale blue. These colors reflect light and make the space feel larger.
Cost: $30–$80 for materials
2. Swap Out Hardware
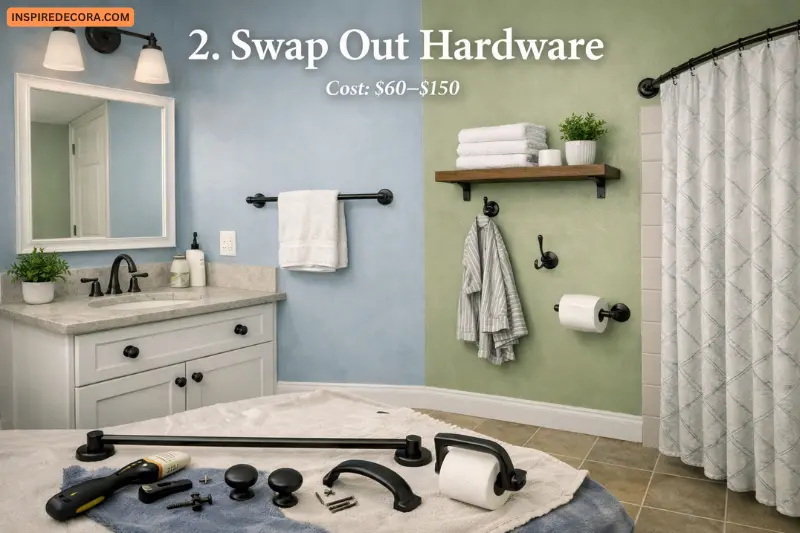
Cabinet knobs, drawer pulls, towel bars, and toilet paper holders are the jewelry of a bathroom. Replacing them takes under an hour with a screwdriver and costs very little. Go for brushed nickel, matte black, or aged brass — these finishes photograph well and feel intentional rather than builder-grade.
A full set of bathroom hardware (towel bar, robe hook, toilet paper holder, two cabinet knobs) typically costs $60–$150.
Cost: $60–$150
3. Upgrade the Mirror
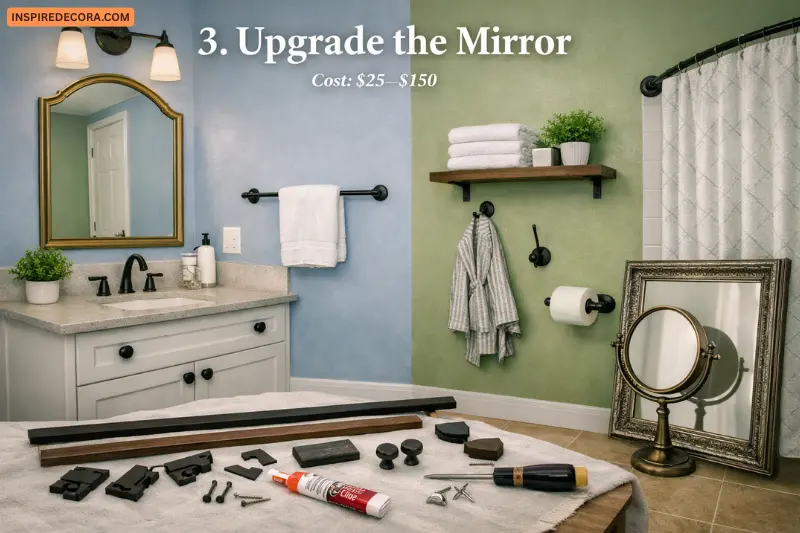
Builders install the cheapest mirrors they can find. Replacing yours with a framed mirror, an arched mirror, or a vintage-style option instantly modernizes the entire vanity area. Alternatively, buy a plain mirror frame kit from a home improvement store and attach it to your existing mirror for under $30.
Cost: $25–$150
4. Replace the Faucet
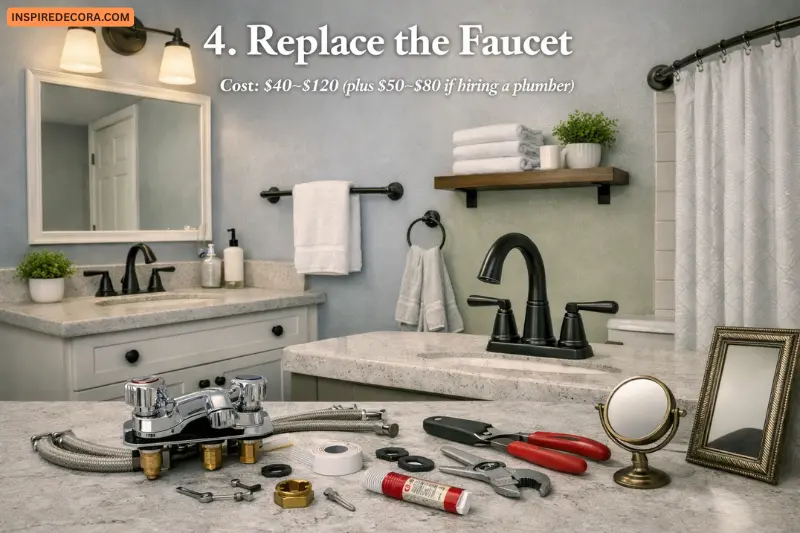
A new faucet is one of the most underrated cheap bathroom renovations. An outdated chrome faucet ages a bathroom significantly, while a brushed nickel or matte black replacement looks current and clean. Basic faucet replacement is a manageable DIY task — there are dozens of straightforward video tutorials available online.
Most quality bathroom faucets cost $40–$120. This is worth spending slightly more on, because cheap faucets corrode within two years in a humid bathroom environment.
Cost: $40–$120 (plus $50–$80 if hiring a plumber)
5. Install Peel-and-Stick Floor Tiles
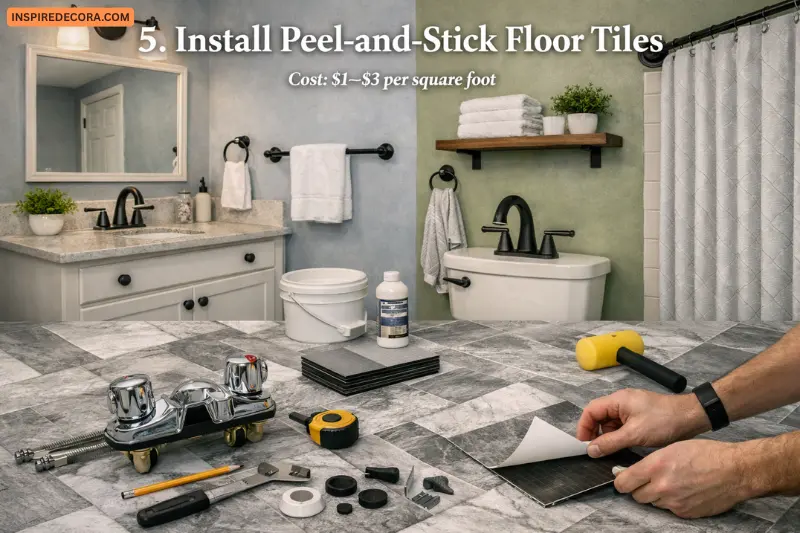
If your bathroom floor is dated but structurally sound, peel-and-stick vinyl tiles are one of the cleverest cheap bathroom renovations available. Modern versions look remarkably similar to real tile, are waterproof, and take an afternoon to install.
Make sure the floor is clean and fully dry before installing. Avoid peel-and-stick tiles over grout lines that are raised more than 1/8 inch — they will not adhere properly and will lift over time.
Cost: $1–$3 per square foot
6. Paint or Resurface the Vanity Cabinet
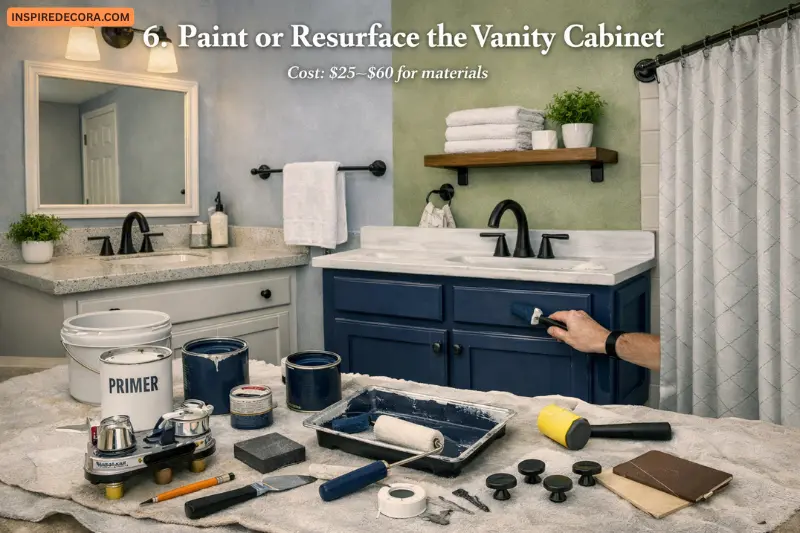
Replacing a vanity can cost $300–$1,200. Painting it costs about $30. Use a furniture-grade primer first, then a semi-gloss or satin paint in white, navy, sage, or any color that coordinates with your walls. Sand lightly between coats and use a small foam roller for a smooth finish.
Add new hardware at the same time for a complete transformation.
Cost: $25–$60 for materials
7. Add Open Shelving
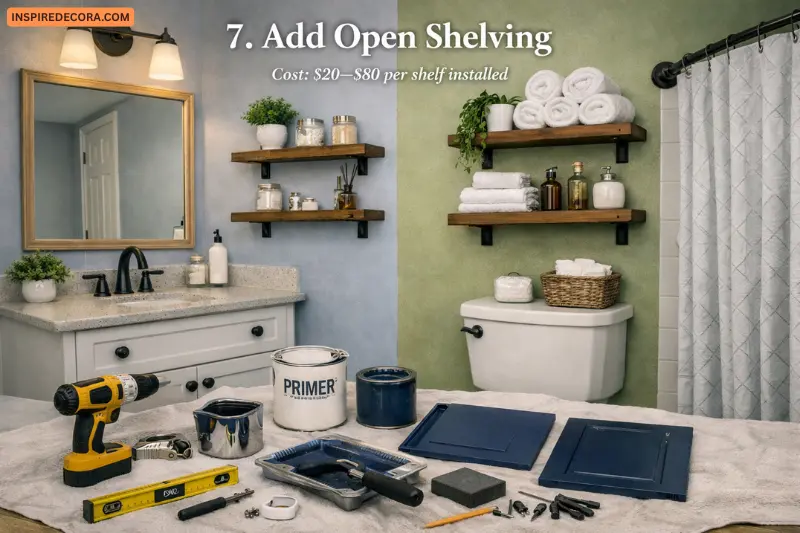
Storage is always a pain point in bathrooms. Open shelving above the toilet or beside the vanity adds both function and visual interest. A simple floating shelf costs $15–$40 at any hardware store. Style it with rolled towels, small plants, and a few decorative bottles to make it look intentional.
Reclaimed wood boards cut to size work especially well in bathrooms with a warm, natural aesthetic.
Cost: $20–$80 per shelf installed
8. Upgrade the Lighting
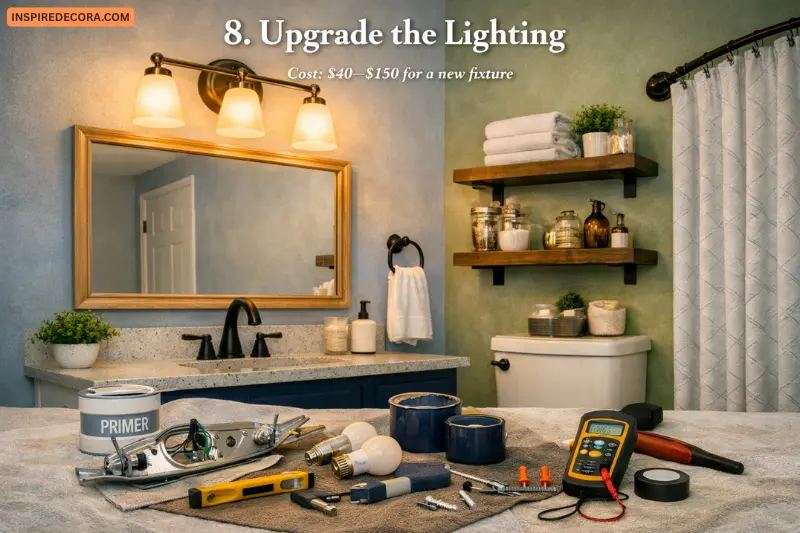
Bathroom lighting is where many cheap bathroom renovations miss an opportunity. Builder-grade light bars cast unflattering, flat light. Replacing one fixture with a warm-toned vanity light takes about 30 minutes if the wiring is already in place.
Aim for bulbs with a color temperature of 2700K–3000K. This range mimics natural light and makes the bathroom feel warm rather than clinical.
Cost: $40–$150 for a new fixture
9. Re-Grout or Regrout Tile
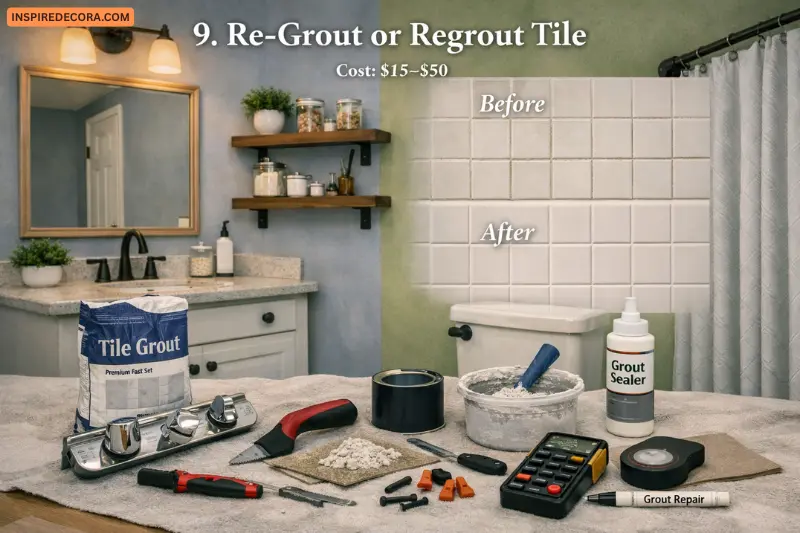
Dirty, stained grout is one of the top reasons bathrooms look old — even when the tiles themselves are in great condition. Re-grouting is one of the most transformative cheap bathroom renovations that almost no one talks about. A grout saw costs about $10, and a bag of fresh grout costs $15–$25.
If re-grouting feels like too much work, a grout pen ($10–$15) refreshes grout color quickly and effectively.
Cost: $15–$50
10. Add a Shower Curtain Upgrade
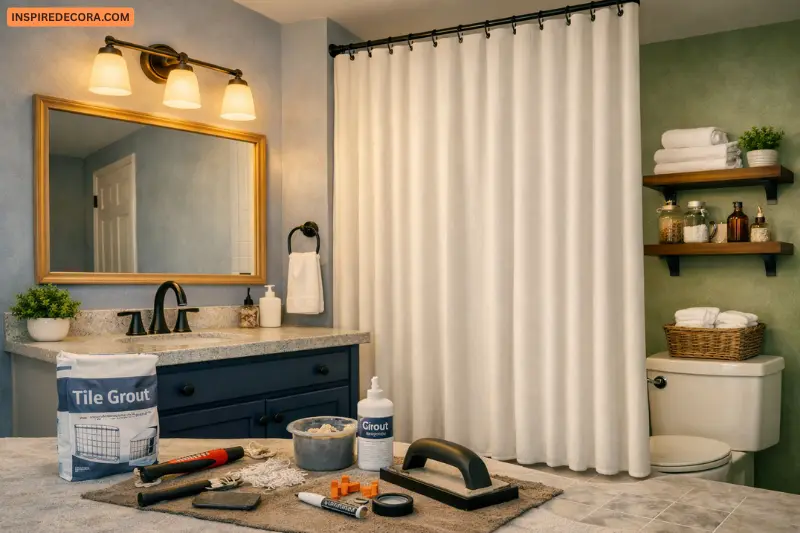
A shower curtain and liner combo is one of the cheapest ways to anchor the whole room’s aesthetic. Go for a curtain that extends floor to ceiling — this elongates the space and feels more luxurious than a standard-height curtain. Pair it with quality rings in a finish that matches your hardware.
Cost: $20–$60
Hidden Costs That Blow Cheap Bathroom Renovation Budgets
This is the section most competitors skip entirely — and it is the one that matters most.
- Waterproofing issues: If you discover water damage behind tiles or under the floor, costs jump immediately. Budget 10–15% of your total renovation as a contingency for unexpected repairs. Waterproofing failures cost $2,000–$12,000 to repair when caught late.
- Moving plumbing: Never move plumbing unless absolutely necessary. Swapping the location of a toilet or shower can add $2,000 or more to any project instantly. Work with your existing layout.
- Permit requirements: Some renovations — particularly any electrical or plumbing changes — require permits. Skipping permits can cause problems when selling your home. Check local requirements before starting.
- Tool costs: DIY seems free until you need a wet saw, pipe wrench, or grout removal tool. Budget $50–$200 for tool rentals if you do not already own them.
- Material waste: First-time tilers typically waste 15–20% of their material due to measurement errors and cuts. Always buy 10–15% extra tile.
- Cheap materials that fail fast: Laminate vanities warp in bathroom humidity. Low-quality faucets corrode within a year. Peel-and-stick tiles lift when installed over imperfect surfaces. Spending a little more on durable materials saves money over time.
DIY vs. Hire Out: A Decision Guide
Not every cheap bathroom renovation should be a DIY project. Here is a clear guide:
DIY-friendly tasks:
- Painting walls and cabinets
- Installing hardware and accessories
- Adding shelving
- Swapping mirrors
- Installing peel-and-stick tiles
- Grouting and re-grouting
- Installing a shower curtain system
- Replacing a faucet (with basic plumbing confidence)
Hire a professional for:
- Any electrical work (new light fixture wiring, exhaust fan replacement)
- Shower waterproofing and tiling
- Toilet replacement (if it involves supply line work)
- Moving or extending plumbing
- Structural wall changes
Trying to DIY complex plumbing or electrical work without experience leads to mistakes that cost far more to fix than the original professional service would have cost.
The Materials Guide: What to Spend More On, What to Save On
Spend more on:
- Faucets (cheap ones corrode and leak)
- Shower fixtures (waterproofing matters here)
- Exhaust fan (poor ventilation causes mold and deteriorating finishes)
- Grout sealer (protects your tile investment)
Save on:
- Mirrors (basic shapes work just as well as expensive ones)
- Accessories (plenty of stylish options exist at affordable prices)
- Paint (mid-range bathroom paint performs as well as premium)
- Shelving (simple floating shelves work beautifully)
- Shower curtain (you can refresh this anytime for low cost)
Who Should Do Cheap Bathroom Renovations — And Who Should Not
This approach is right for you if:
- Your bathroom is structurally sound but aesthetically outdated
- You want to refresh before selling your home
- You enjoy hands-on projects and have a weekend to spare
- You are renting and want cosmetic improvements your landlord permits
Think twice if:
- There is existing water damage or mold behind walls
- Your plumbing or electrical is genuinely outdated
- You need to change the layout
- You have never tiled before and want a perfect finish on the first try
In those cases, a partial professional renovation that focuses budget on the structural elements — and leaves the cosmetic work for DIY — gives the best outcome.
Cheap Bathroom Renovation Checklist
Before you start, work through this list:
- [ ] Decide your renovation tier and set a hard budget
- [ ] Add 10–15% contingency for surprises
- [ ] Identify which tasks you will DIY and which need a pro
- [ ] Check local permit requirements
- [ ] Measure the bathroom and list all materials needed
- [ ] Order or buy 10–15% extra tile and flooring
- [ ] Check that existing ventilation is adequate
- [ ] Choose a hardware finish and stick to it throughout
- [ ] Source second-hand or clearance items where possible
Frequently Asked Questions
1. What is the cheapest bathroom renovation I can do?
Painting the walls and updating hardware is the cheapest starting point. Together, these two changes cost as little as $80–$150 and make a significant visual difference. Adding a new mirror and shower curtain keeps you well under $300 for a full cosmetic refresh.
2. Can I renovate my bathroom for under $500?
Yes. A Tier 1 cosmetic renovation — new paint, hardware, mirror, accessories, and shower curtain — easily fits within $300–$500 and delivers impressive results. Avoid any plumbing or electrical changes to stay within this budget.
3. Should I replace tiles or paint over them?
Painting over tiles is possible with specialist tile paint and proper preparation, but it is not always durable long-term. A better cheap bathroom renovation approach is to install peel-and-stick vinyl tiles directly over existing tiles if they are flat and firmly adhered.
4. What is the most expensive part of a bathroom renovation?
Labor is consistently the biggest cost, followed by fixtures and tiles. Moving plumbing is the fastest way to blow a bathroom renovation budget — costs jump by $1,500–$3,000 when plumbing must be relocated.
5. Is it worth replacing a vanity in a cheap bathroom renovation?
Only if it is in very poor condition. Painting and re-hardwaring an existing vanity achieves 80% of the visual impact of a replacement for about 10% of the cost. Save vanity replacement for a larger renovation budget.
6. How long do cheap bathroom renovations take?
A cosmetic refresh can be completed in a single weekend. Moderate upgrades including re-tiling, new fixtures, and vanity work typically take 1–2 weeks. Allow more time if you are new to DIY — learning curves extend timelines significantly.
7. What materials should I avoid in a bathroom?
Avoid untreated wood, standard drywall (use moisture-resistant board instead), laminate that is not rated for wet areas, and cheap chrome fixtures. Bathrooms are uniquely harsh environments — materials not designed for humidity deteriorate quickly and cost more to replace.
8. Can cheap bathroom renovations add value to my home?
Yes. Updated bathrooms consistently rank among the home improvements with the best return on investment. Even cosmetic changes — new fixtures, fresh paint, modern lighting — improve how a home presents to buyers and justify higher asking prices.
Final Thoughts
Cheap bathroom renovations are not about cutting corners — they are about spending strategically. Focus your money on the changes with the most visual impact: paint, hardware, lighting, and a fresh mirror. Avoid the hidden budget killers: moving plumbing, skipping contingency funds, and buying materials that will not survive bathroom humidity.
Take it one tier at a time, work with your existing layout, and prioritize quality on the elements that take the most wear. Your bathroom does not need to cost a fortune to look like it did.