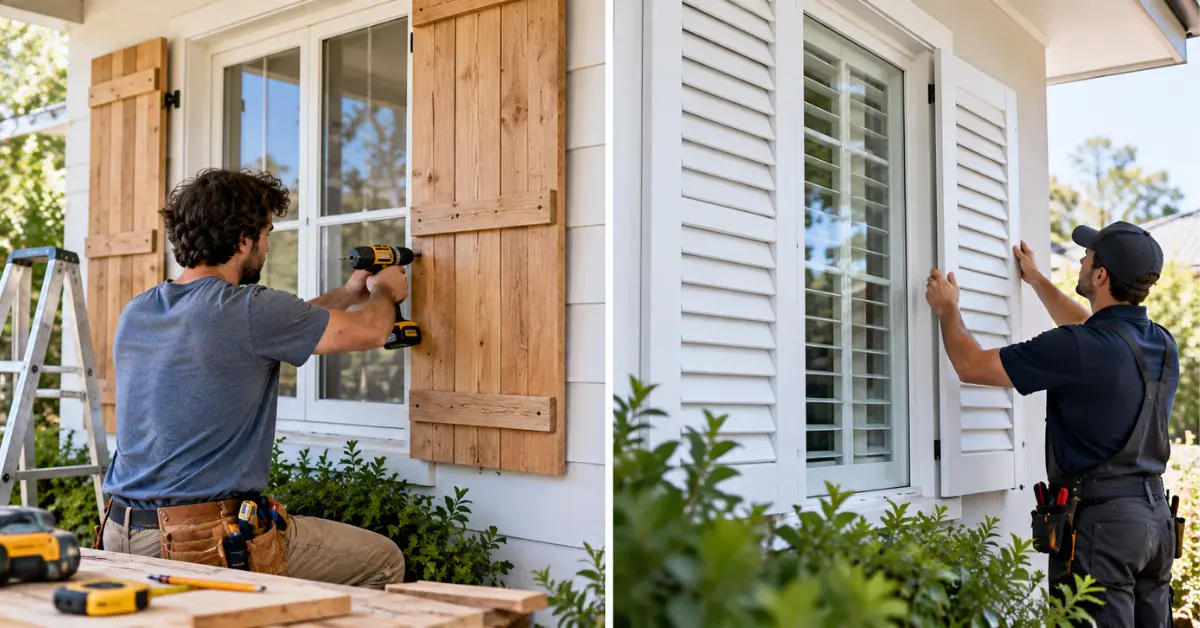
DIY shutters are worth it for decorative exterior shutters, simple fixed-louvre panels and small interior windows, where you can realistically save 50 to 70 per cent. They are not worth it for large made-to-measure plantation shutters, bushfire-zone homes or any shutter that must operate smoothly for years. If your windows are square, your budget is tight and you own a drop saw, build them. If not, pay for measuring and installation.
Where DIY Wins and Where It Fails
Not all DIY Shutters are the same job. A decorative pair beside a window is a woodworking project. A set of tilting plantation shutters is closer to cabinetmaking.
| Shutter type | DIY difficulty | Typical DIY saving | My verdict |
|---|---|---|---|
| Decorative exterior (fixed, non-closing) | Easy | 60 to 70% | Build it yourself |
| Functional exterior (hinged, closing) | Moderate | 40 to 55% | DIY if you’re handy |
| Interior board-and-batten | Easy to moderate | 50 to 65% | Good DIY project |
| Interior plantation (tilting louvres) | Hard | 30 to 50% | Kit or professional |
| Large or irregular windows | Very hard | Often negative | Hire a professional |
The saving shrinks fast once errors enter the picture. One mis-cut louvre panel in quality timber can wipe out a weekend’s worth of savings.
What They Actually Cost in Australia
Prices vary by state and supplier, so treat these as ballpark figures. A pair of timber decorative shutters for one window usually costs about $80 to $200 in materials, paint and hardware. Professionally made-to-measure plantation shutters commonly run $400 to $900 per square metre installed. A plantation shutter kit from a hardware store or online supplier often lands around $150 to $400 per square metre.
Kits look cheaper, but they only come in standard sizes or ship as unassembled panels. Most Australian houses have windows that are slightly out of square, and a kit won’t forgive that.
From my experience: The most expensive DIY shutter I’ve seen wasn’t the one with the fancy timber. It was the one built to the wrong measurement. Measure the width in three places and the height in three places, then use the smallest number. Windows lie.
Choosing Timber That Survives the Australian Climate
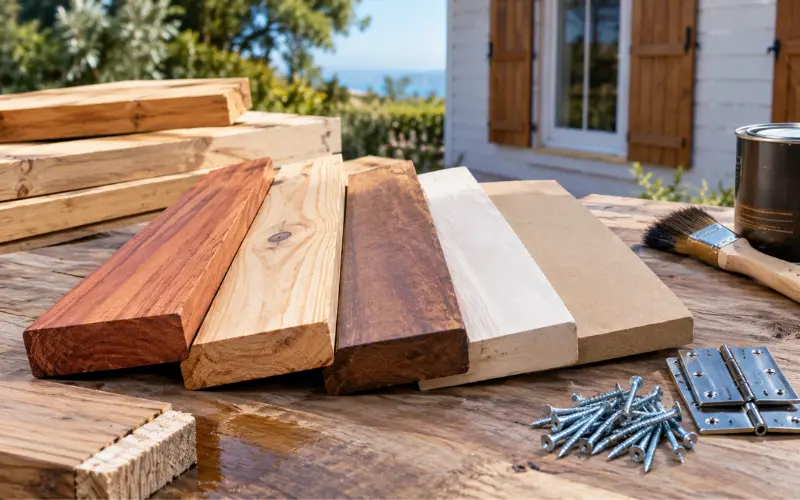
Our sun is brutal on exterior timber. Choose the wrong species and you’ll be repainting in 18 months.
- Western red cedar: Light, stable and naturally rot-resistant. It’s the classic exterior choice, though it costs more.
- Cypress pine: A good local option with natural termite resistance. It can be knotty, so pick through the stack.
- Merbau or meranti: Hardwood options for exteriors, but seal every cut edge.
- Primed pine (DAR): Fine for interior shutters and sheltered exteriors. Avoid it on west-facing walls.
- MDF: Suitable for interior board-and-batten only. One wet season and it swells.
Always seal the end grain. That’s where moisture enters, and it’s the step most people skip. Use stainless steel or hot-dip galvanised screws and hinges, particularly within a few kilometres of the coast.
The Bushfire Rule Most Guides Ignore
Competitor articles rarely mention this: if your home sits in a bushfire-prone area, exterior timber shutters may be restricted. Under AS 3959, homes assessed at higher Bushfire Attack Levels (BAL-29 and above) have strict requirements for materials around windows. Some bushfire-rated shutters are actually used as protection, but they are engineered products.
Check your BAL rating with your local council before buying a single board. In cyclone regions, any shutter meant to protect glass must meet engineering and compliance standards, so a home-built version isn’t an option there.
Step-by-Step: Building Simple Exterior Shutters
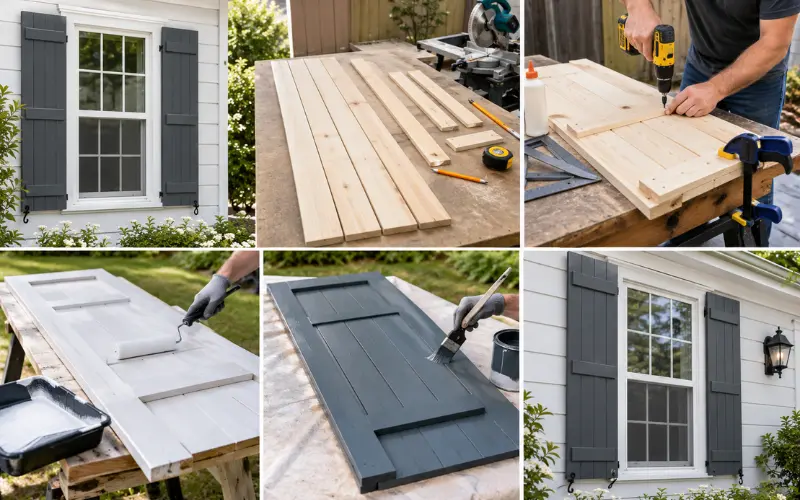
This is the project I’d recommend to most first-timers.
- Size them properly. Each shutter should be the full height of the window including trim, and half its width. That way a closed pair would cover the glass, which is what makes them look believable.
- Cut your boards. Use 19 to 22 mm thick timber for the vertical boards, plus two or three horizontal battens (Z-brace or flat).
- Assemble with waterproof glue and screws. Pre-drill to avoid splitting, and keep everything square with a clamp and a carpenter’s square.
- Prime all six sides. Back and edges matter as much as the face.
- Apply two coats of exterior acrylic paint. Choose a UV-stable colour. Dark shades absorb heat and move more, so light and mid-tones last longer on sun-baked walls.
- Mount into framing, not just cladding. Use pintles or hinges and, if you want a classic look, a pair of shutter dogs (the holdbacks).
If you want the facade to look cohesive, it helps to see what works with your house style. This guide to single-storey house facade ideas is a useful starting point for choosing colours and proportions.
Interior DIY Shutters: The Part That Trips People Up
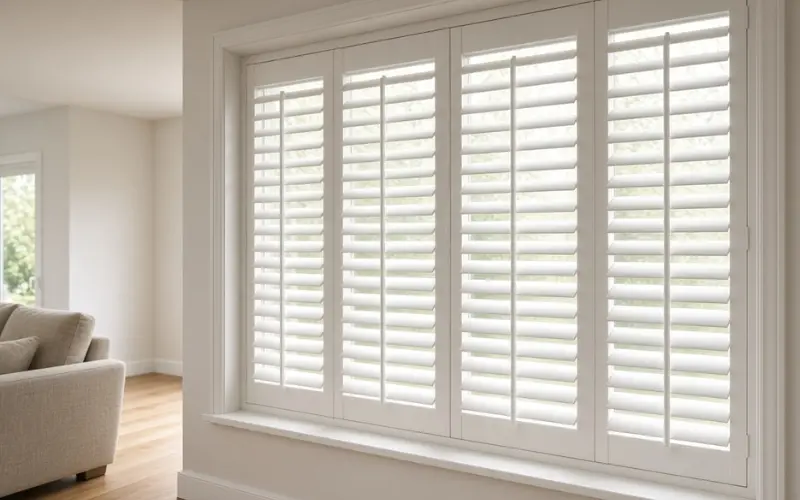
Interior shutters are less forgiving than exteriors because people stand close and operate them daily.
- Inside mount or outside mount? An inside mount looks neat but needs a window recess at least 60 to 80 mm deep and very accurate measuring. An outside mount hides imperfect reveals and is far friendlier for DIY.
- Louvre size matters. Wider louvres (89 or 114 mm) show a more modern look and need fewer moving parts. Narrower 63 mm louvres suit smaller windows and traditional homes, but there are more pieces to align.
- The tilt rod is the weak link. Cheap rods rattle and drift over time. If you’re buying a kit, check how the louvres connect and whether replacement parts are sold.
If you’re still weighing interior shutters against other coverings, this breakdown of the best type of blinds for a living room helps compare light control, privacy and upkeep.
A practical note: If you rent, skip fixed-in-place shutters entirely. Freestanding or hinged screens on stands give a similar look with zero damage to the walls.
Cheap DIY Shutters Without Looking Cheap
A budget build can look great if you control where you save and where you don’t.
- Use board-and-batten, not louvres. It’s quicker and needs no specialist parts.
- Pay for good paint, not good timber, on interiors. Primed pine with a quality paint finish looks identical to premium timber.
- Buy off-cuts and seconds. Many timber yards sell lengths cheaply, and shutters need short pieces.
- Spend money on hinges. Flimsy hinges sag, and sagging is the first thing that makes a shutter look homemade.
For smaller upgrades in the same spirit, a DIY window tint kit is another cost-effective way to manage heat and glare.
When to Call a Professional
Hire out the job if any of these apply:
- Your windows are arched, bay-shaped or unusually large.
- Your home is in a bushfire or cyclone zone.
- You need tilting louvres that operate smoothly for a decade or more.
- The windows are above ground-floor height and need scaffolding or ladder work.
- You want a warranty, which most DIY routes simply can’t offer.
A professional measure-and-install service also removes the single biggest risk, which is incorrect measurements.
My Rule of Thumb
Ask yourself two questions. Does the shutter need to move? And would a 3 mm error show? If the answer to both is no, it’s a good DIY job. If either is yes, get a quote before you buy timber.
FAQs on DIY Shutters
How long do DIY exterior timber shutters last in Australia?
With sealed end grain and a good acrylic finish, expect 8 to 12 years before a full repaint. Western-facing walls wear fastest.
Can I make DIY Shutters from Bunnings pine?
For interiors, yes. For exteriors, only if it’s treated, fully primed on every face and kept out of constant weather.
Do I need council approval for exterior shutters?
Usually not for decorative ones, but heritage-listed homes and strata properties often have rules. Check with your council or body corporate first.
Are plantation DIY Shutters kits easy to install?
Installation is simple. Measuring is where most mistakes happen, so confirm your window dimensions before ordering.
What’s the best colour for exterior shutters?
Mid-tones and lighter shades handle heat better. Dark colours look striking but expand and fade faster in strong sun.
Do shutters help with heat in summer?
Exterior shutters that close over the glass block sun before it enters the room, which beats interior coverings. Decorative fixed ones do nothing for heat.
How much timber do I need for one pair of DIY Shutters?
For a 1,200 x 900 mm window, plan roughly 3.6 m of 19 x 90 mm boards per shutter, plus 10 per cent extra for cutting waste.
Can I paint existing shutters instead of replacing them?
Yes, if the timber is sound. Sand back, spot-prime any bare patches and recoat with exterior acrylic.