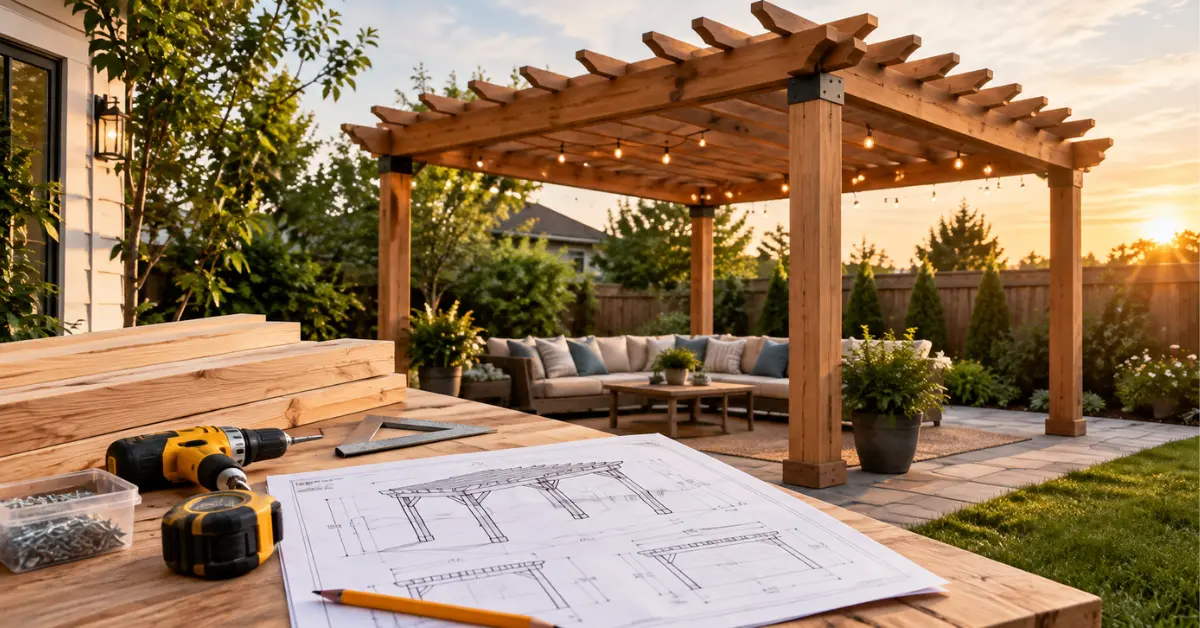
Yes, DIY pergola plans are worth it if you can handle basic carpentry and want to save roughly 30 to 50 percent compared with a professionally installed structure. A solid 12×12 ft (3.7 x 3.7 m) pergola usually costs $800 to $2,500 in lumber and hardware, while kits and installs often start higher. The savings only hold when your plan includes footing details, a cut list and a realistic lumber spec.
What a Good Plan Contains That Most Free Downloads Skip
Many free pergola plans are just a sketch with overall dimensions. That is where projects go wrong.
A plan worth following should include:
- A materials list with exact lumber sizes and counts
- A cut list showing every board length
- Footing and post base details, not just “set the posts”
- Beam and rafter spans that match your pergola size
- Hardware specs, such as bolt diameters and bracket types
If a plan has none of these, treat it as inspiration only. A PDF with a cut list saves hours at the lumber yard and prevents the expensive mistake of buying boards that are 2 ft too short.
My field note: Before downloading anything, scan the plan for the footing section. If it does not mention hole depth, concrete or post standoff brackets, the author probably never built it in a place with real winters.
Real Costs: Building vs Buying
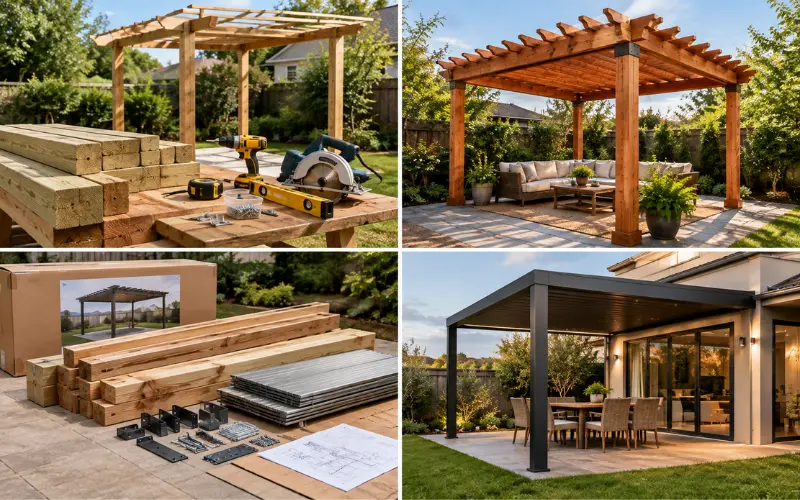
Here is how the numbers typically compare for a 12×12 ft structure. Prices vary by region and lumber market, so treat these as planning ranges.
| Option | Typical Cost (USD) | Time | Best For |
|---|---|---|---|
| DIY, pressure-treated pine | $800 to $1,500 | 2 weekends | Tight budgets, painted or stained finish |
| DIY, cedar or redwood | $1,800 to $3,000 | 2 to 3 weekends | Natural color, lower rot risk |
| Pergola kit (wood or aluminum) | $1,500 to $6,000 | 1 to 2 weekends | Beginners, matching hardware included |
| Professional install | $4,000 to $12,000+ | 1 to 3 days | Attached structures, complex roofs |
So, is it cheaper to make your own pergola? Almost always, yes. The exception is when you buy tools you will never use again. If you already own a circular saw, drill and level, building wins. If you own none of them, a kit becomes competitive.
Choosing the Right Post Size
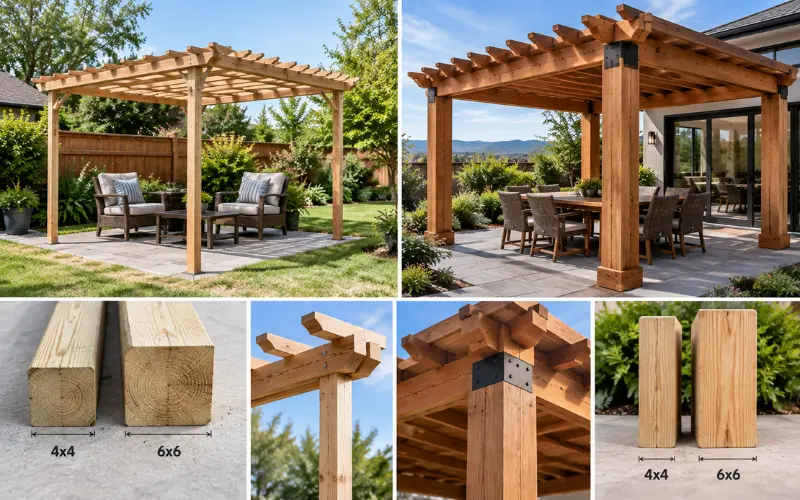
Can you use a 4×4 post for a pergola? Yes, for small and low structures. A 4×4 (actual size about 3.5 x 3.5 in, or 89 mm) works for pergolas up to roughly 8 ft (2.4 m) tall and 10×10 ft in calm areas.
Go with 6×6 posts (actual size 5.5 x 5.5 in, or 140 mm) when:
- The pergola is 12×12 ft or larger
- Posts are taller than 8 ft
- You live in a windy or storm-prone region
- You plan to add a solid or heavy roof
The price difference is small, usually $15 to $30 per post. The stiffness difference is huge. Thin posts rack sideways, and you will notice it the first time someone leans on the structure.
Footings: The Part That Decides Lifespan
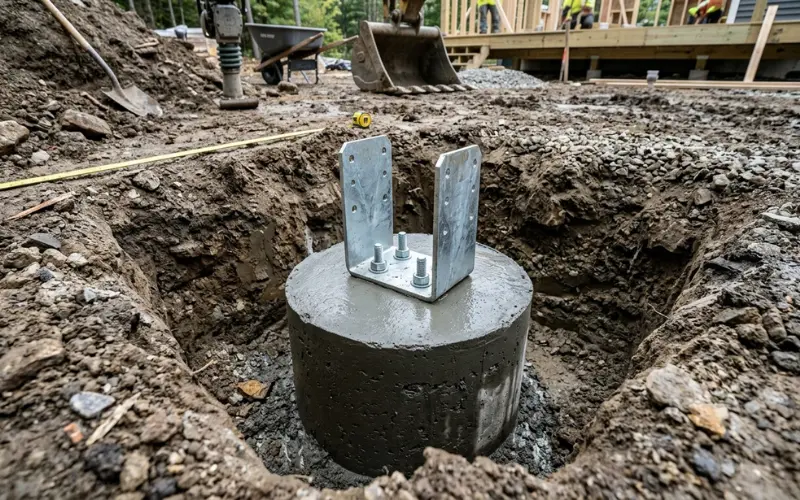
Most failures start at the ground, not at the top. You have two sound options.
- Concrete piers. Dig holes 10 to 12 in (25 to 30 cm) wide and below your local frost line. In cold states that can mean 36 to 48 in (90 to 120 cm). Pour concrete and set a galvanized post base on top.
- Existing slab or deck. Use heavy-duty standoff post bases anchored with wedge or epoxy anchors. Check that the slab is at least 4 in (10 cm) thick and in good shape.
Never bury an untreated post end in soil. Even ground-contact lumber lasts far longer when the post sits above the concrete on a bracket.
Call 811 before you dig. It is free, and hitting a buried line ruins more than a weekend.
Sun and Shade: What Competitors Rarely Mention
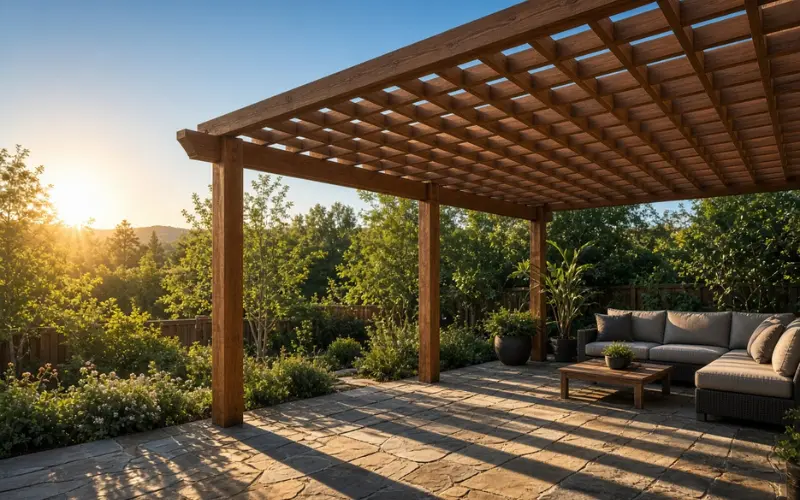
Most plans focus on structure and ignore performance. A pergola is a shade tool, so design it like one.
- Rafter direction matters. Run rafters north to south, so they cast moving shade as the sun travels east to west.
- Spacing controls shade. Rafters at 12 in (30 cm) spacing give dense shade. At 24 in (60 cm), you get dappled light.
- Add cross purlins (thin boards across the rafters) if you want more shade without a roof.
- Plan for late afternoon. In the US, the west side takes the harshest heat from about 3 to 6 pm.
I always suggest marking the sun path with string and stakes on a Saturday afternoon before ordering lumber. It takes twenty minutes and can change where you place the structure.
DIY Pergola Plans With a Roof
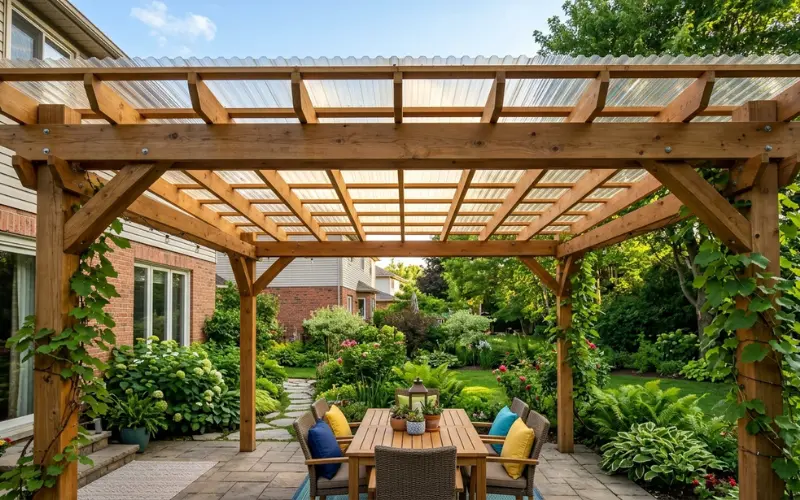
Adding a cover changes the engineering, so choose carefully.
- Shade cloth or retractable canopy: Light, cheap and easy to remove before storms.
- Polycarbonate panels: Block rain and UV while letting in soft light. Fasten them to purlins and pre-drill to avoid cracks.
- Metal roofing: Durable and good for rain, but heavier and noisier.
- Shingled or solid roof: Needs stronger beams, tighter rafter spacing and often engineered drawings.
Snow load is the detail people forget. In snowy regions, a solid roof can carry hundreds of pounds, and a plan designed for open rafters will not handle it. Ask your local building department for the required snow load before choosing a roof type.
Attached vs Freestanding
A freestanding pergola is simpler and does not touch your house. An attached pergola saves two posts, but it needs a ledger board bolted into the house framing with proper flashing to keep water out of the wall.
If you are attaching to siding, do not skip flashing. Water behind a ledger is the number one cause of hidden rot on attached outdoor structures.
Permits and Codes
Rules vary by city and county. Many areas require a permit when the structure is attached to a house, exceeds a set floor area (often around 120 to 200 sq ft), or sits close to a property line. Some homeowners associations also require approval for color and style.
Check before buying lumber. Paying a $50 to $200 permit fee is cheaper than tearing a finished pergola down.
Step-by-Step Build Overview
For a standard 12×12 ft freestanding design:
- Mark the layout. Measure diagonals. If both match, your rectangle is square.
- Dig and pour footings. Let concrete cure for at least 48 hours.
- Set post bases and posts. Check each post with a level on two sides, then brace.
- Install beams. Doubled 2×8 or 2×10 boards bolted to the posts with carriage bolts.
- Add rafters. 2×6 boards notched or hung on the beams, spaced 16 to 24 in (40 to 60 cm).
- Add purlins or roof. Cross boards or panels, depending on your shade plan.
- Seal or stain. Apply a quality exterior finish on every face, including cut ends.
Use exterior-rated structural screws or hot-dip galvanized bolts. Plain interior screws rust and stain the wood within a season.
Finishing Touches That Make It Feel Designed
Once the frame is up, the pergola becomes part of your outdoor room. You can pair it with a covered outdoor living space layout for seating and dining, add an outdoor privacy screen along the open side, or build a DIY outdoor fireplace nearby for cooler evenings. Keep any fire feature a safe distance from the roof structure and follow local clearance rules.
Common Mistakes to Avoid
- Choosing 4×4 posts for a large span to save a few dollars
- Skipping the sun study and placing the pergola in the wrong spot
- Using untreated lumber in ground contact
- Forgetting to seal the end grain, where water enters first
- Ignoring local wind and snow requirements
So, Are DIY Pergola Plans Worth It?
They are worth it when the plan is detailed, the footings are right and the design fits your climate. A cheap or vague PDF can cost more in wasted materials than a quality paid plan.
My honest opinion: Spend $20 to $40 on a well-drawn plan with a full cut list. It is the cheapest insurance in the whole project.
Frequently Asked Questions
Quick answers about building your own pergola.