If you’ve ever sat in a garden and wished you could capture the curl of a fern leaf or the way morning light falls across a row of tomato plants, you already understand the appeal of gardening drawing. It’s a hobby that sits at the crossroads of art and nature, and it’s far more forgiving than most beginners expect. You don’t need a fine arts degree, expensive equipment, or years of practice to produce a sketch you’ll actually be proud of. You need the right approach — and that’s exactly what this guide gives you.
Most articles on this topic either show you a gallery of pretty pictures or throw a few generic tips at you without explaining why they work. This guide is different. We’re going to walk through the actual mechanics of sketching a garden — the tools, the shapes, the light, the people, and the mistakes that trip up almost every beginner — so that by the end, you’ll have a clear, repeatable process you can use every time you sit down to sketch.
What Is Gardening Drawing, Exactly?
Gardening drawing is the practice of sketching plants, garden layouts, tools, and the people who tend them. It covers a surprisingly wide range of subjects: a single botanical illustration of a rose, a wide perspective sketch of a backyard vegetable patch, a quick figure study of someone kneeling beside a flower bed, or a full landscape design plan drawn from a bird’s-eye view. Landscape designers use gardening drawing professionally to plan outdoor spaces before a single shovel hits the dirt. Hobbyists use it simply to slow down, observe nature closely, and create something beautiful from their own backyard.
Whatever your reason for picking up a pencil, gardening drawing rewards patience and close observation more than raw talent. The plants don’t move (much), the light changes slowly, and you can always step back, take a reference photo, and finish later.
Why Gardening Drawing Is Worth Learning
Beyond the obvious creative satisfaction, this practice has real, practical benefits that often get overlooked:
- It trains your eye for design. Sketching a flower bed forces you to notice spacing, color rhythm, and height variation in a way that simply walking past it never does.
- It’s a planning tool. Many gardeners sketch their beds before planting to test layouts, sun exposure, and plant pairings without the cost of trial and error.
- It reduces stress. Like most observational drawing, sketching plants and beds is meditative. You focus on lines and shapes instead of your to-do list.
- It documents growth over time. A dated sketch of your tomato bed in May looks completely different by August — keeping a garden sketchbook becomes a visual diary of your growing season.
Essential Tools for Gardening Drawing
You don’t need a studio full of supplies to get started. Most experienced illustrators actually recommend starting minimal, since too many tools early on can be more distracting than helpful.
For beginners:
- A mechanical pencil (0.5mm) for clean, consistent lines
- A kneaded eraser, which lifts graphite without smudging
- A sketchbook with slightly textured paper (smooth paper makes shading harder to control)
For inking and finishing work:
- Fineliner or micron pens in two or three line weights (0.05, 0.1, 0.3 are a solid starting set)
- A black brush pen for bold shadow areas
- Colored pencils or watercolor for adding color once the linework is set
Optional but useful:
- A small ruler for garden plan layouts where straight paths or beds matter
- A camera or phone to capture reference photos when the light or weather won’t cooperate
The key takeaway: gardening drawing doesn’t require a big budget. A pencil and a notebook you actually carry with you will produce better results than an expensive kit left at home.
Step-by-Step: How to Start a Gardening Drawing
1. Choose Your Subject and Simplify It First
Don’t start with the whole garden. Pick one element — a single plant, a trellis, a watering can, a person bent over a flower bed — and study its basic shape before adding any detail. Every complex plant breaks down into simple geometric forms: ovals for leaf clusters, cones for conifers, simple curved lines for stems and vines.
2. Block In Basic Shapes Lightly
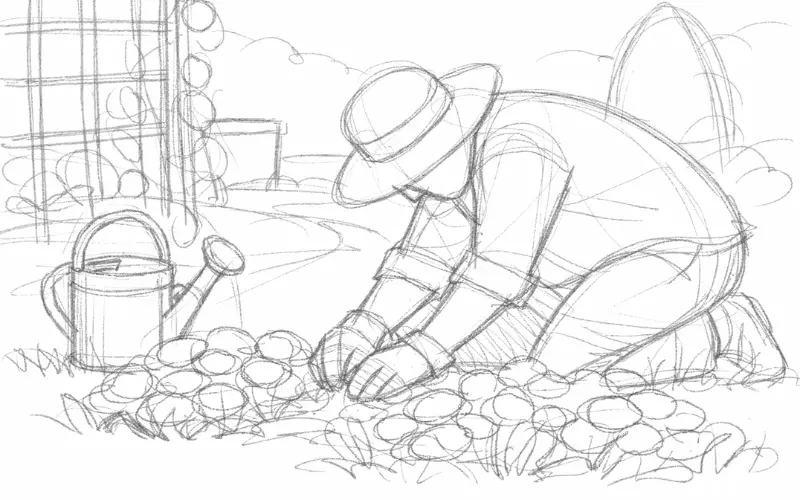
Use light, loose pencil strokes to map out where things sit on the page. This stage is about proportion, not detail — how tall is the sunflower compared to the fence behind it? Where does the path lead the eye? Get this skeleton right and everything else becomes easier.
3. Build Up Layers of Detail
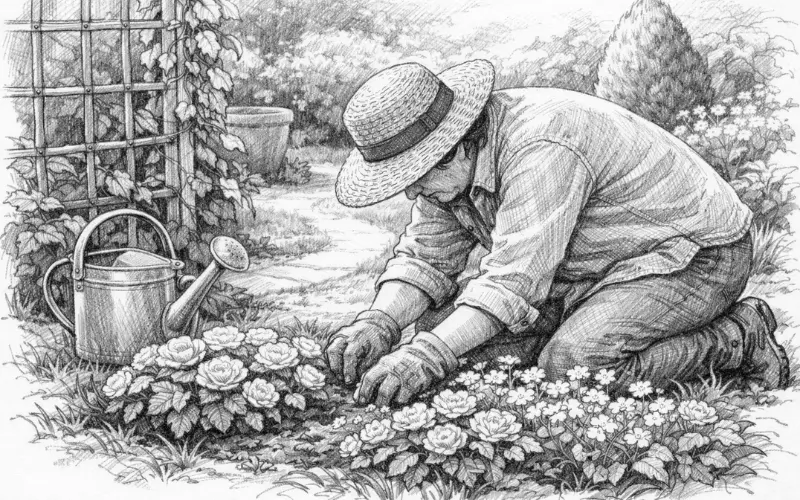
Once your basic shapes are in place, start adding the texture that makes a garden sketch feel alive: the jagged edge of a fern frond, the layered petals of a rose, the rough bark of a tree trunk. Work from background to foreground so closer elements naturally read as more detailed and sharper than distant ones.
4. Add Line Weight Variation
This is one of the most overlooked techniques in garden sketching tutorials. Using a single, uniform line weight throughout a sketch makes it look flat. Instead, use heavier, darker lines for objects in shadow or close to the viewer, and lighter, thinner lines for background elements. This single habit instantly makes a beginner sketch look more professional.
5. Shade With Purpose
Shading in gardening drawing isn’t about covering the whole page in gray. Identify your light source first, then shade only where shadows naturally fall — under leaves, beneath pots, along the underside of a curved stem. Cross-hatching works well for plant textures, while smooth pencil shading suits soft, rounded shapes like pumpkins or watering cans.
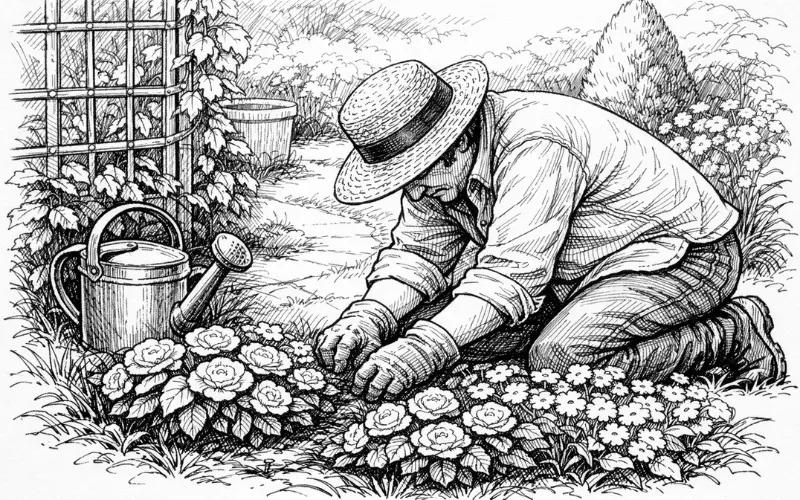
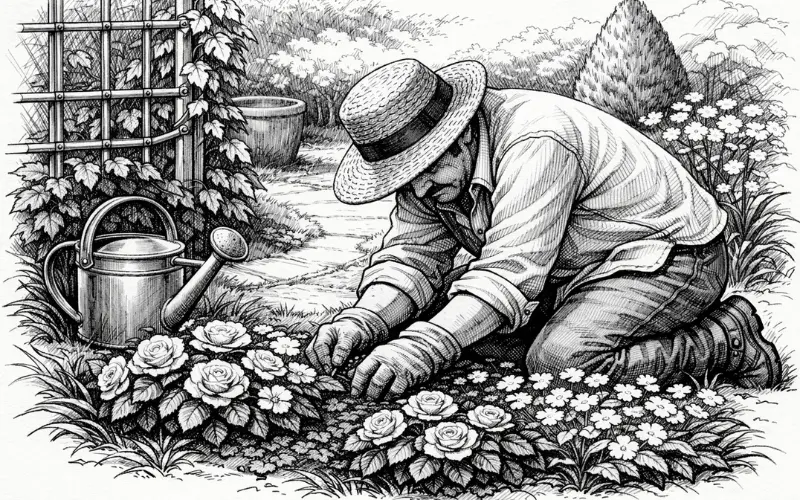
6. Don’t Forget the People
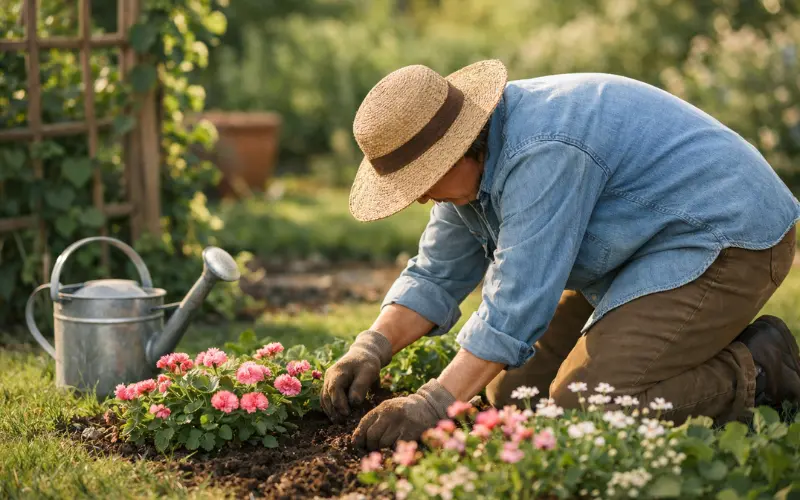
A garden scene feels incomplete without a human element. Drawing a person gardening — kneeling, watering, pruning, or pushing a wheelbarrow — adds scale, story, and warmth to your composition. Keep the figure simple at first: basic posture, a sun hat, gloved hands, and a tool. You don’t need detailed anatomy for a successful gardening drawing; suggestion is often more effective than precision.
Common Mistakes in Gardening Drawing (and How to Fix Them)
Mistake 1: Drawing every leaf the same size and shape. Real foliage varies enormously, even on a single plant. Vary leaf size, angle, and overlap to avoid the “wallpaper pattern” look that makes amateur garden sketches feel stiff.
Mistake 2: Ignoring perspective. A garden drawn entirely flat, with no sense of depth, loses the feeling of space. Even a simple one-point perspective — where paths and beds converge toward a single distant point — adds enormous realism to a gardening drawing.
Mistake 3: Overworking the linework. Beginners often keep adding lines until a sketch looks “finished,” but this usually muddies the image instead. Step away, look at your gardening drawing from a distance, and stop once the composition reads clearly.
Mistake 4: Skipping the planning stage. Jumping straight into detail without a loose layout sketch is the number one reason proportions go wrong. Spend an extra two minutes blocking in shapes — it saves much longer fixing mistakes later.
Garden Drawing Styles to Explore
- Botanical illustration — highly detailed, scientifically accurate drawings of individual plants, often used in field guides
- Loose sketch style — quick, expressive linework that captures mood and movement rather than precision
- Landscape perspective drawing — wide garden scenes drawn from eye level or aerial view, popular with landscape designers
- Coloring-book style — bold, clean outlines with enclosed shapes designed for adding color afterward
- Axonometric/isometric garden plans — technical drawings used to map out garden layouts to scale
Trying each style, even briefly, helps you discover which kind of gardening drawing genuinely excites you, rather than locking into the first technique you learn.
Tips for Practicing Gardening Drawing Regularly
- Keep a small sketchbook in your garden bag or by the back door — five-minute sketches add up fast.
- Sketch the same plant across different seasons to study how form and color change over time.
- Photograph your garden at different times of day, then practice shading using the photo as a light reference.
- Join a local sketching group or online community for feedback; gardening drawing improves faster with outside eyes on your work.
- Don’t erase too aggressively — visible “mistake” lines are part of how observational drawing builds confidence over time.
FAQs About Gardening Drawing
What is gardening drawing?
Gardening drawing is the practice of sketching gardens, plants, flowers, garden tools, layouts, and people working in outdoor spaces. It can range from quick observational sketches to detailed botanical illustrations or landscape design plans.
Is gardening drawing good for beginners?
Yes. Gardening drawing is one of the most beginner-friendly art forms because plants provide simple, natural shapes and usually stay still long enough to study comfortably. You can start with basic tools and improve through observation and practice.
Do I need to know how to draw realistically?
No. Realism is only one style. Many successful garden sketches are loose, expressive, or stylized. The goal is to capture shapes, texture, light, and atmosphere rather than perfect accuracy.
Should I draw from life or from photos?
Both methods are useful. Drawing from life improves observation skills, while photos help when weather, lighting, or time makes outdoor sketching difficult. Many artists combine both approaches.
How long does it take to improve at gardening drawing?
Noticeable improvement can happen within a few weeks of regular practice. Short daily sketches often help more than occasional long sessions. Consistency matters more than artistic talent.
What is the difference between botanical illustration and gardening drawing?
Botanical illustration focuses on scientific accuracy and detailed plant structure, while gardening drawing is broader and can include landscapes, people, tools, and expressive or stylized scenes.
Can gardening drawing help with garden planning?
Absolutely. Many gardeners sketch layouts before planting to experiment with spacing, pathways, plant combinations, and visual balance before making permanent changes.
What is the best shading technique for plants?
Cross-hatching works well for textured foliage and bark, while soft pencil blending is useful for rounded objects like pumpkins, pots, or large leaves. The best method depends on the texture you’re trying to capture.
Why do my garden sketches look flat?
Flat drawings usually happen because of uniform line weight or missing shadows. Adding darker lines to foreground objects and lighter lines in the background creates dimension.
Can I use watercolor with gardening drawings?
Yes. Watercolor pairs especially well with garden sketches because it captures soft natural colors and organic textures. Many artists ink their drawings first and then apply watercolor washes.
How often should I practice gardening drawing?
Even five to ten minutes a day helps. Sketching regularly — especially the same plants through different seasons — builds observation skills surprisingly quickly.
Are mistakes bad in sketching?
No. Visible construction lines and imperfect marks are a normal part of observational drawing. Many artists intentionally leave early sketch lines visible because they add energy and authenticity to the artwork.
Final Thoughts
Gardening drawing isn’t about producing gallery-ready art on your first try — it’s about training yourself to truly see the plants, light, and people that fill an outdoor space. Start small, work with the simple tools listed above, and focus on the habits that matter most: loose shape-blocking before detail, varied line weight, purposeful shading, and regular practice. Every accomplished illustrator you admire started with the same wobbly first sketches you will. Stick with it through a single growing season, and you’ll be amazed at how naturally your gardening drawing skills develop alongside your garden itself.