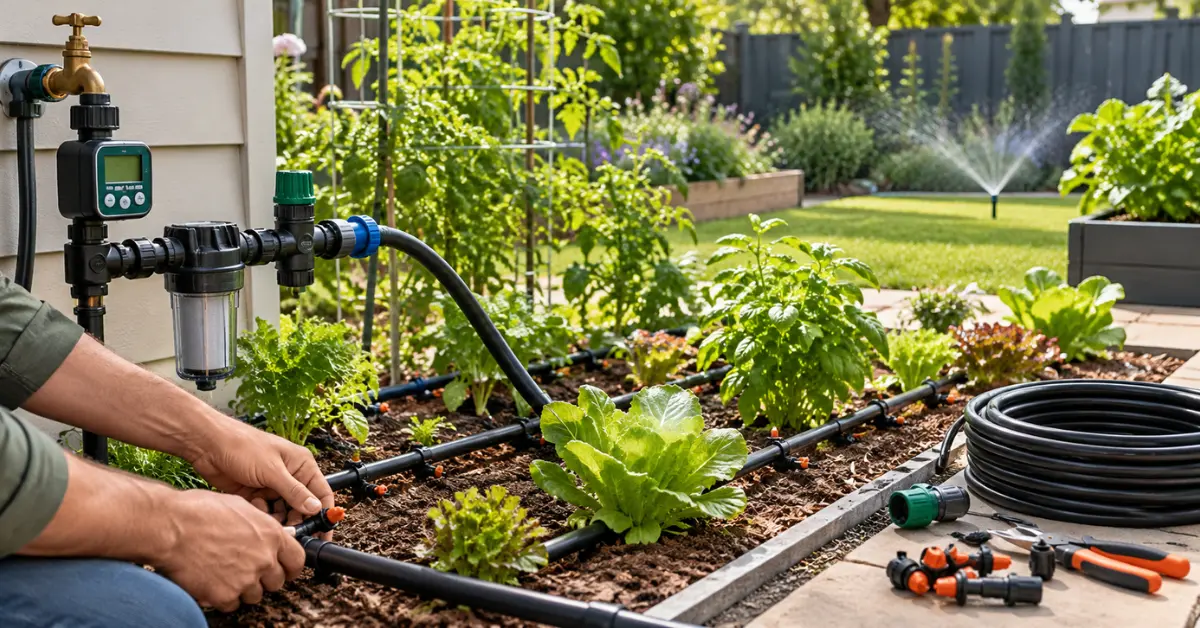
A DIY irrigation system is worth it for most Australian home gardens under about 300 square metres, usually costing 40 to 60 per cent less than a professional install and paying itself back within one or two summers. It stops making sense when you have steep slopes, very low mains pressure, or a large lawn needing zoned pop-up sprinklers and a backflow device fitted by a licensed plumber.
What a Weekend Build Really Costs
Most guides quote the price of a kit and stop there. The kit is rarely the full bill. Once you add a backflow preventer, filter, pressure regulator, a tap timer or controller, and a few spare fittings, the total moves fast.
Here are realistic ballpark figures for a standard suburban yard, based on typical hardware store pricing. Treat them as a guide, since prices vary by brand and state.
| Garden type | DIY cost (approx.) | Professional install (approx.) | Time to DIY |
|---|---|---|---|
| Veggie patch or raised beds (10 m²) | $80 to $200 | $400 to $700 | 2 to 3 hours |
| Garden beds and hedging (40 m²) | $200 to $450 | $900 to $1,600 | 1 day |
| Small lawn with above ground sprinklers | $150 to $350 | $1,200 to $2,500 | 1 day |
| Lawn with buried pop-up zones | $600 to $1,500 | $2,500 to $5,000+ | 2 to 3 days |
The gap narrows once trenching is involved. Digging through compacted clay or roots eats more time than people expect, and that is where many weekend projects stall.
Where DIY Wins and Where It Doesn’t
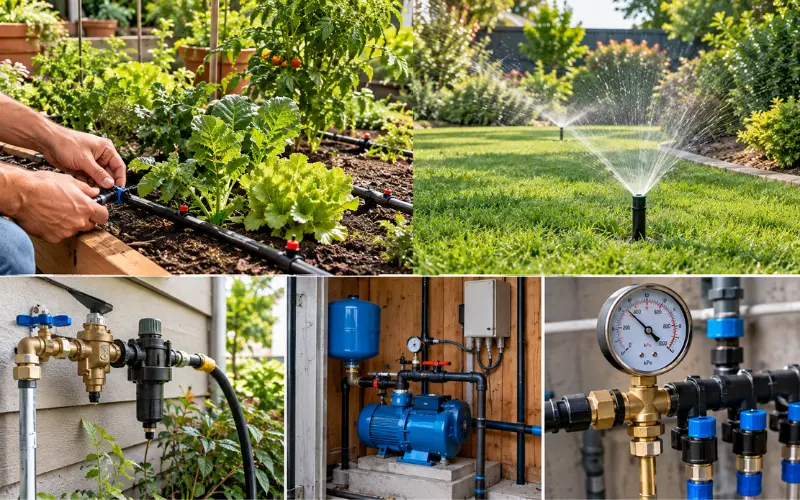
Drip lines for garden beds and pots are the best DIY job there is. The fittings push together by hand, you can tweak the layout as plants grow, and mistakes cost a few dollars, not a few hundred.
Lawn systems are a different story. A DIY irrigation system for lawn areas needs correct sprinkler overlap, and getting head-to-head coverage wrong gives you the classic patchwork of green and brown. An above ground sprinkler system on a hose-end timer is a sensible halfway option if you want to avoid trenching.
I would hire a pro for three things:
- Connecting directly to the mains without an approved backflow device
- Bore pump setups with electrical wiring
- Properties with pressure above roughly 500 kPa that need regulation across multiple zones
Many Australian water authorities require backflow prevention on permanent connections, and some councils have rules on what you can install yourself. Check with your local water provider before you buy anything.
The Pressure and Flow Test Most People Skip
This is the step that decides whether your system works, and it takes five minutes. Hold a 10 litre bucket under your tap, turn it on fully, and time how long it takes to fill. If it fills in 60 seconds, your flow is about 10 litres per minute (600 litres an hour).
Add up the flow rate of everything you plan to run on one zone. If your drippers total more than your tap delivers, the end of the line will barely trickle. Split the garden into separate zones instead of buying bigger pipe.
From my own garden: My first build ran 30 drippers off one 13 mm line, and the last six plants never got a drop. Splitting it into two timed zones fixed it for the price of one extra valve.
Choosing Your Parts
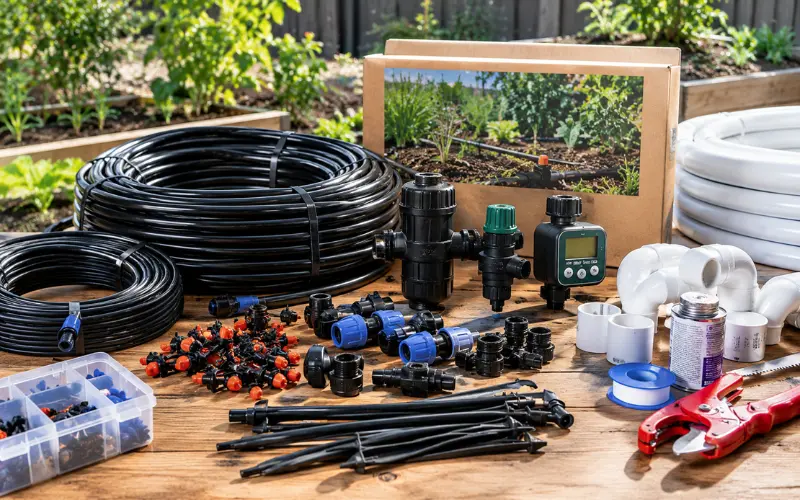
A DIY irrigation system kit is a good starting point if you want everything matched. Look for a kit that includes a pressure regulator, since standard poly pipe and drippers are designed for low pressure (around 100 to 200 kPa) and can blow off fittings at mains pressure.
Pipe choice matters too:
- 13 mm poly pipe suits small gardens and pots
- 19 mm poly pipe suits longer runs or lawn zones
- PVC is better for buried mainlines where you want rigid, permanent plumbing
A DIY irrigation system PVC layout is sturdier and lasts decades, but it is less forgiving. You need solvent cement, accurate cuts and curing time. Poly pipe is easier for a first attempt, and you can always upgrade the mainline later.
Step-by-Step Setup for Garden Beds
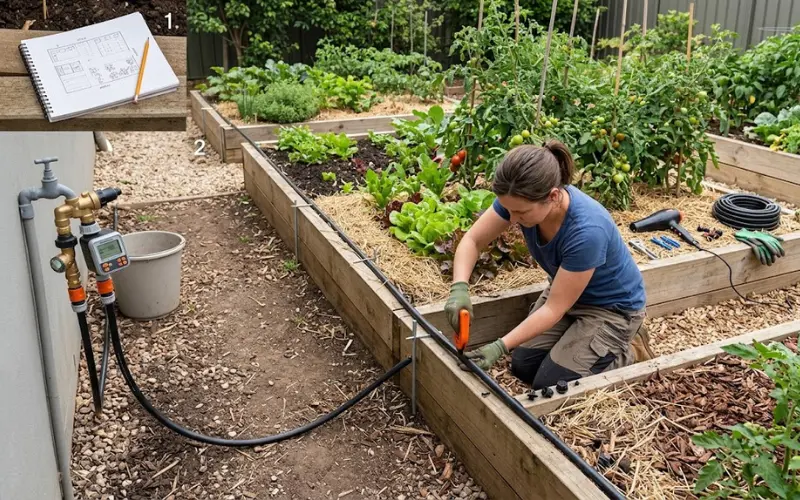
- Sketch the garden on paper and mark the tap, beds and any trees.
- Test your flow with the bucket method above.
- Fit the head assembly at the tap: backflow preventer, filter, pressure regulator, then your timer.
- Run the 13 mm mainline along the bed edges, using a hair dryer to soften the pipe around tight corners.
- Punch in drippers or lay dripline with 30 cm emitter spacing for most garden beds.
- Flush the line with the end open for a minute before capping it, to clear any swarf.
- Peg it down and cover with mulch, which also cuts evaporation.
If you grow vegetables in raised beds, our gardening boxes guide covers how bed depth changes how long and how often you should water. For a heavy feeder like tomatoes, steady moisture matters more than volume, and these tomato gardening tips explain why irregular watering causes split fruit.
Cheap Options That Actually Work
Not every project needs a trip to the hardware store. A DIY irrigation system using plastic bottles works for holiday cover. Poke a few small holes in a 2 litre bottle, bury it neck-down beside the plant and fill it up. It delivers water slowly for a couple of days, but it is unreliable for anything beyond that, and it won’t suit established vegetable beds in a heatwave.
A DIY irrigation system for potted plants is where I’d spend a little more. Pots dry out faster than any other part of the garden, especially terracotta in full sun. A single dripper per pot on a small timer is cheap and saves the daily watering routine. If you garden on a balcony, these apartment gardening tips help you plan around weight, drainage and runoff.
Controllers: Where the Real Savings Come From
The timer decides whether the system saves water or wastes it. Basic tap timers handle one zone and are fine for a single bed. A multi-zone DIY irrigation controller costs more but lets you water the lawn, beds and pots on different schedules.
Features worth paying for:
- Rain delay or rain sensor input so the system skips watering after a storm
- Multiple start times, useful for short, repeated cycles on sandy soil
- Seasonal adjust, which scales run times up and down without reprogramming
Water early in the morning, ideally before 8 am. You lose less to evaporation and wind, and leaves dry out during the day, which reduces fungal problems. Check your local water restrictions as well, because many Australian regions limit watering times and methods during dry periods.
Soil Type Changes Everything
Sandy soil drains quickly, so water moves down more than sideways. You need closer dripper spacing (about 20 to 30 cm) and shorter, more frequent cycles. Clay holds water longer and spreads it wider, so wider spacing and longer, less frequent watering works better.
Run a test: water for 30 minutes, wait an hour, then dig down with a spade. If the moisture only reaches 5 cm, increase the run time. If it goes beyond 30 cm, you are overwatering and the roots are lost in the wet zone.
Common Failures I See Repeatedly
- Blocked emitters from skipping the filter, particularly with tank or bore water
- Burst fittings from missing pressure regulators
- UV damage on exposed poly pipe, which turns brittle after a few summers without mulch cover
- Chewed lines from possums, rats and cockatoos, who treat dripline as a snack
- Forgotten winter shutdown in cooler regions, where frozen water can split fittings
Practitioner note: Check your system monthly for the first season. A five minute walk with the timer on manual run will show you every leak and dry patch before the plants do.
So, Is It Worth It?
For garden beds, veggie patches and pots, yes, without hesitation. For a lawn, it depends on your skill level and how far you are willing to trench. If you are weighing it against a hired installer, start with one DIY zone, learn how your water pressure and soil behave, and expand only once it works.
Prefer less thirsty gardening overall? Our organic gardening solutions guide covers mulching and soil building, which cuts how much water any system needs to deliver.
FAQ’s on DIY Irrigation System
How much water does a drip system use compared to a sprinkler?
Drip lines typically use 30 to 50 per cent less water because they deliver water to the root zone with little loss to wind or evaporation.
Can I connect a DIY irrigation system to a rainwater tank?
Yes, but you will likely need a pump, since gravity-fed tanks rarely produce enough pressure. Add a fine filter, as tank water carries debris that clogs emitters.
What size timer do I need for a small veggie patch?
A single-zone tap timer is enough. Look for one with at least two start times per day, which helps in summer heat.
Do I need a licensed plumber to install an irrigation system in Australia?
Rules vary by state and water authority. Hose-connected tap systems are generally fine for DIY, but permanent connections to the mains often require an approved backflow device and licensed installation.
How long should I run drippers each day?
It depends on soil, plant type and weather. A common starting point is 20 to 40 minutes every second day in summer, then adjusting after a soil moisture check.
Will a DIY irrigation system work on a sloping garden?
It can, but use pressure-compensating drippers so the lower plants don’t get flooded while the upper ones stay dry.
Why are some of my plants getting too much water and others none?
This is usually a flow problem or uneven emitter output. Split the system into zones and use pressure-compensating drippers.
Is it cheaper to buy a kit or source parts separately?
Kits are usually cheaper for small gardens under 20 square metres. For larger layouts, buying parts individually lets you match the exact pipe sizes and emitters you need.