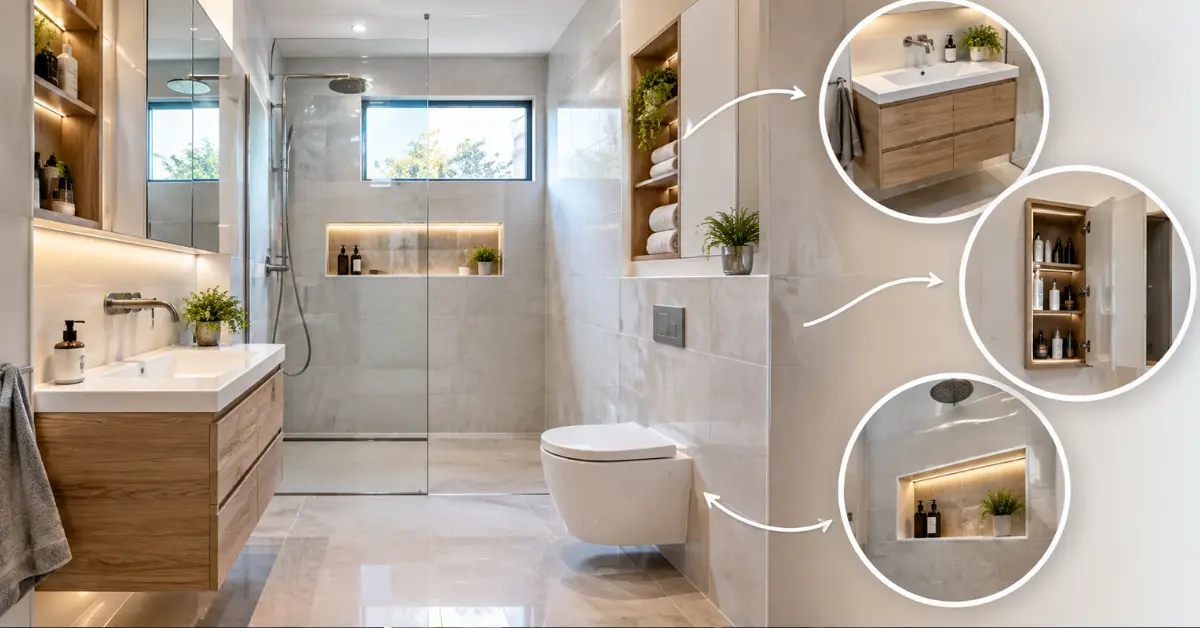
To maximize space and storage when Renovate a Small Bathroom, you must replace bulky floor-standing fixtures with wall-hung vanities, utilize vertical wall cavities for recessed shaving cabinets, and install continuous floor-to-ceiling tiling with semi-frameless or fully frameless glass shower screens. Maintaining your existing plumbing layout prevents costly structural re-piping while allocating budget toward space-saving fixtures that enhance functional floor area.
Smart Design Strategies to Visually Expand Small Bathrooms
In compact Australian homes and apartments, physical floor space is strictly limited. Expanding perceived space relies on optical continuity and clever proportions. When floor area is under five square metres, heavy dividing lines—such as thick step-over hob shower bases or framed glass doors—visually chop the room into tiny, claustrophobic boxes.
Flush Curbless Wet Rooms
Eliminating traditional shower hobs creates an uninterrupted floor plane that instantly deceives the eye into perceiving a larger room. Designing a continuous, step-free fall toward a discrete strip drain allows water to clear efficiently while keeping floor finishes unified. To explore layout options for open-plan wet areas, read our guide on modern wet room design.
Large Format Tiles with Matching Grout
Small mosaic tiles on both walls and floors introduce hundreds of dark grid lines, creating visual clutter. Selecting large-format porcelain tiles (such as $600\text{ mm} \times 600\text{ mm}$ or $600\text{ mm} \times 1200\text{ mm}$) paired with a closely colour-matched grout reduces visual breaks. Running the exact same tile from the floor directly up the walls creates a seamless vertical flow that elevates ceiling height.
Frameless Glass Screens
Framed shower enclosures act like solid interior walls, blocking sightlines and trapping light. A fixed sheet of $10\text{ mm}$ clear toughened glass or a sleek frameless slide mechanism lets natural light bounce around the room. If privacy is required without sacrificing illumination, evaluate translucent glass vs frosted glass options for shower panels.
Space-Saving Vanities and Storage Solutions
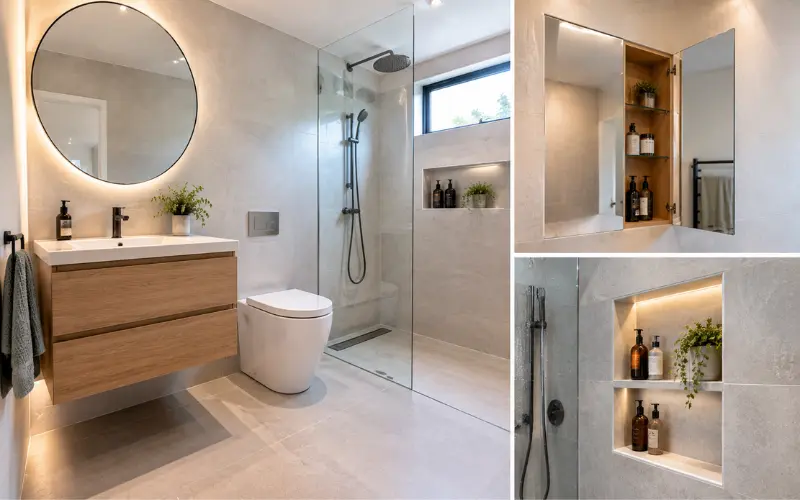
The vanity is often the largest culprit for wasted square footage in a small bathroom. Standard floor-mounted cabinets seal off valuable floor area, creating dark shadows that make small spaces feel cramped.
Wall-Hung Floating Vanities
Mounting a vanity directly to the wall frame exposes the floor underneath, allowing sightlines to extend all the way to the back wall. Choosing a shallow-depth vanity ($380\text{ mm}$ to $460\text{ mm}$ deep) with deep, full-extension drawers provides storage without blocking traffic flow. For compact powder rooms, consider specialized slim-profile options like a space-saving powder room vanity.
Recessed Shaving Cabinets
Instead of hanging a standard mirror flat on the wall, construct a recessed timber box inside the wall stud cavity. A custom $120\text{ mm}$ deep mirrored cabinet set into the wall studs provides ample eye-level storage for toiletries without taking up space over the basin.
Vertical In-Shower Niches
Avoid hanging plastic caddies or wire racks off your shower head. Building a custom tiled wall recess inside the shower cavity gives you clean, integrated storage for bottles and soap. Learn how to plan the correct heights and depths with these bathroom niche ideas.
Realistic Renovate a Small Bathroom Costs
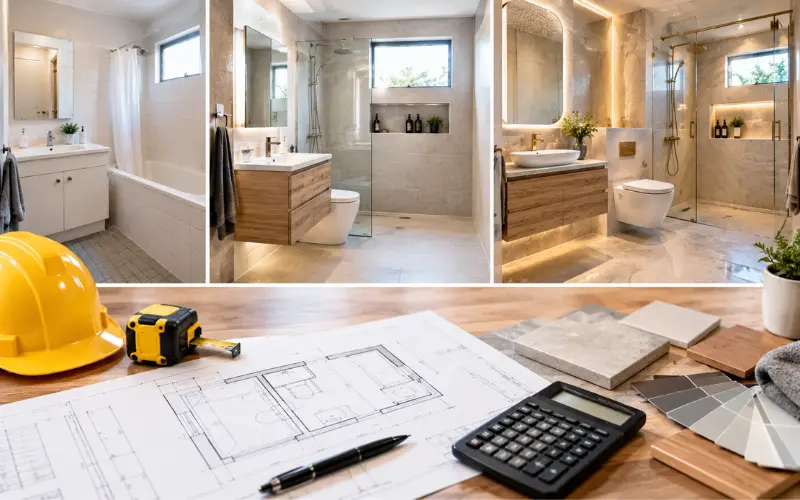
Planning a budget requires knowing trade costs, council requirements, and fixture prices across Australia. The table below outlines typical project brackets for small bathrooms ranging from $3\text{ m}^2$ to $5\text{ m}^2$.
| Renovation Tier | Estimated Cost (AUD) | Scope of Work Included | Primary Budget Drivers |
| Cosmetic Refresh | $\$8,000 – \$14,000$ | Fresh paint, tapware updates, new vanity, re-grouting, retaining tiles | Fixture quality, retain existing layout |
| Mid-Range Full Gut | $\$15,000 – \$27,000$ | Full tear-out, AS 3740 waterproofing, full tiling, custom vanity, clear glass screen | Trade rates (plumbing, waterproofing, tiling) |
| Premium Custom Build | $\$28,000 – \$42,000+$ | Moving waste points, in-wall cisterns, custom stone, underfloor heating, architectural lighting | Structural work, licensed trade hours, high-end materials |
Field Note on Trade Allocations: In standard Australian renovations, labour accounts for 40% to 50% of your total spend. Demolition, licensed plumbing rough-ins, electrical cabling, waterproofing, and tiler bed laying are core steps. To avoid cost overruns, keep water supply lines and soil waste pipes in their original locations. Shifting a toilet waste pipe in a concrete slab can add $\$2,500$ to $\$4,500$ in trade fees alone. For budget-friendly project strategies, explore our full guide oncheap bathroom renovations.
Step-by-Step Renovate a Small Bathroom Process
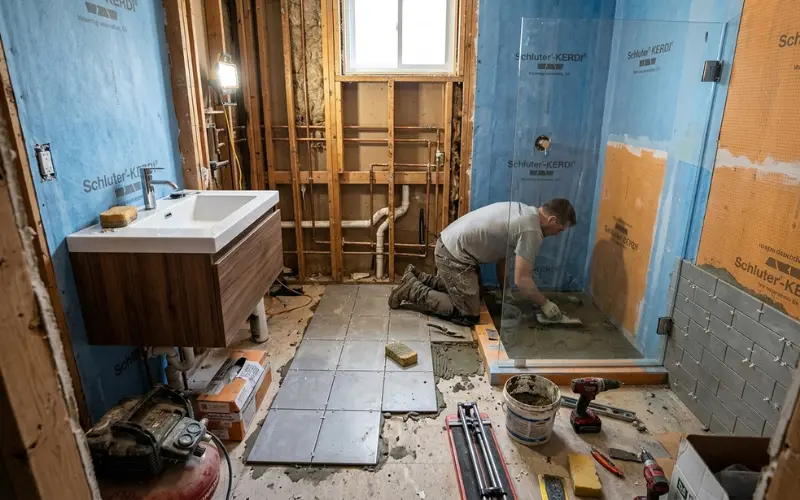
Managing a small bathroom project demands exact coordination between licensed trades to prevent costly sequencing mistakes.
Step 1: Stripout and Structural Inspection
Strip out old wall linings, floor screeds, and plumbing fixtures down to the wall studs and floor joists or slab. Inspect timber framing for hidden water damage or termite activity before proceeding.
Step 2: Plumbing and Electrical Rough-Ins
Licensed plumbers and electricians run copper/PEX supply lines, PVC waste lines, and electrical cabling. Set the correct rough-in heights early, especially if installing an in-wall toilet cistern or wall-hung vanity. Verify your measurements against standard benchmarks like the standard height for bathroom vanity installations.
Step 3: Wall Sheet Installation and Floor Screeding
Install water-resistant plasterboard or fibre-cement wall lining (such as $6\text{ mm}$ Villaboard). Lay a concrete floor screed mixed to create a consistent fall toward the floor waste drain.
Step 4: Waterproofing Certification
Under Australian Standards (AS 3740), waterproofing must be applied to wet areas by a licensed waterproofer. Apply a flexible liquid polyurethane or sheet membrane across all shower walls, the floor, and wall-to-floor junctions. Ensure adequate curing time before applying tiles.
Step 5: Tiling and Fit-Out
Lay floor and wall tiles with water-resistant adhesives. Grout, apply sanitary silicone seals to internal corners, and install your vanity, tapware, toilet, and frameless glass screen. Connect electrical fixtures, including exhaust ventilation fans, LED lighting, and heated towel rails.
Essential Fixtures for Very Small Bathrooms
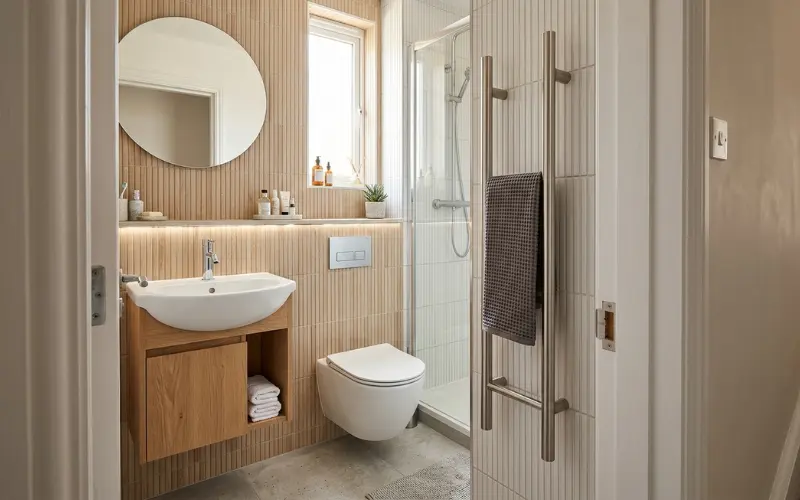
Selecting compact, high-performance fixtures ensures your space remains open, clean, and functional.
- In-Wall Concealed Cistern Toilets: Hiding the porcelain water tank inside the wall cavity saves up to $200\text{ mm}$ of forward projection compared to standard close-coupled suites.
- Curved Semi-Recessed Basins: Choosing a shallow vanity cabinet topped with a semi-recessed basin gives you a full-sized washing bowl without requiring a deep cabinet that blocks walkways.
- Vertical Heated Towel Rails: Instead of wide horizontal ladder rails that hog wall space, install slim vertical heated tubes to dry towels using minimal wall width.
- Built-in Ledges Over Vanities: If your wall cavity contains plumbing stacks that prevent a recessed cabinet, build a low tiled ledge running wall-to-wall behind the vanity. Learn how this works in practice by reading our feature on constructing a ledge in shower and vanity zones.
Lighting, Colour, and Ventilation Rules
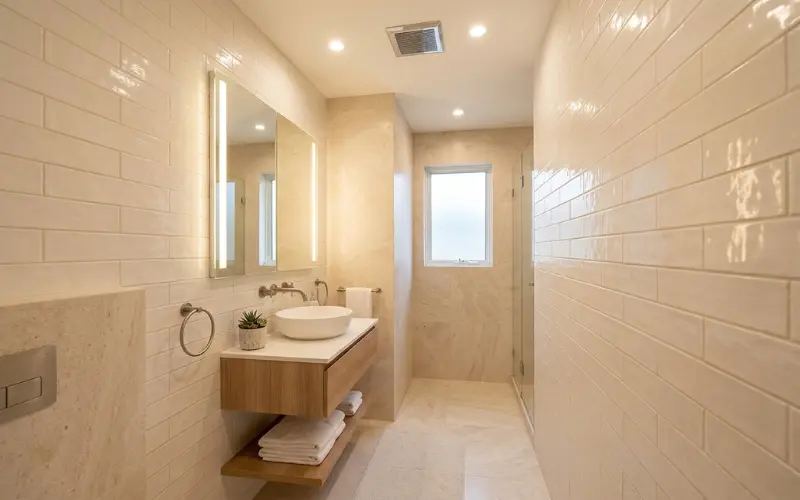
Compact spaces need targeted lighting, ventilation, and colour choices to stay bright and feel spacious.
Wall-to-Wall Light Palettes
Dark, saturated wall tiles absorb light, pulling surfaces inward and making small rooms feel confined. Use warm off-whites, soft mists, or light stone tones to reflect light around the room. Pair these with brushed nickel or chrome tapware to create clean, subtle accents.
Layered Task and Ambient Lighting
A single ceiling light bulb casts harsh downward shadows on your face at the mirror, making the room look dim. Use recessed downlights ($3000\text{K}$ warm white) paired with vertical LED strip lighting alongside your mirror cabinet to eliminate shadows and illuminate the room evenly.
High-Displacement Exhaust Ventilation
Compact bathrooms trap heat and steam quickly, creating moisture build-up that leads to mould on ceilings and tile grout. Install a high-displacement inline exhaust fan ducted directly to the outside air to keep the space clean and dry.
Frequently Asked Questions
Can I renovate a small bathroom in Australia for under $10,000?
Yes, a small bathroom can be updated for under $10,000 if you keep the existing tiles, plumbing layout, and floor screed intact. Focus your budget on cosmetic updates, such as installing a fresh wall-hung vanity, updating tapware, painting ceiling surfaces, and adding custom shower screens.
How long does a Renovate a Small Bathroom typically take?
A full-gut bathroom renovation takes between 2 to 4 weeks. This timeline accounts for structural demolition, plumbing and electrical rough-ins, waterproofing application and drying times (AS 3740), floor screed curing, tiling, and final trade fit-outs.
What is the minimum recommended size for a functional full bathroom?
A functional full bathroom containing a shower, vanity, and toilet requires a minimum floor area of roughly 2.5 m² to 3 m². For powder rooms without a shower, a floor plan of 1.2 m² to 1.5 m² provides adequate clearance.
Is DIY plumbing or electrical work allowed during Renovate a Small Bathroom in Australia?
No. By Australian state regulations, all plumbing, drainage, gasfitting, and mains electrical work must be performed by licensed tradespeople who issue compliance certificates upon completion. Unlicensed DIY plumbing or electrical work voids home insurance coverage and can cause serious structural damage.
How can I make a small bathroom look bigger without moving walls?
Use continuous floor-to-ceiling large format tiles, install a floating wall-hung vanity, use a single sheet of frameless glass for the shower screen, and mount recessed mirrored cabinets flush inside the wall cavity.
Which is better for a small bathroom: a sliding shower door or a pivot door?
A sliding shower door or a fixed frameless glass panel works best in a small bathroom. Pivot doors require a clear swing radius that can hit your vanity, toilet, or towel rail.
Do I need a building permit to renovate a Small Bathroom?
If you are doing a like-for-like renovation without altering structural load-bearing walls, expanding the room footprint, or changing external window openings, a building permit is usually not required. However, waterproofing compliance certificates from your licensed tradesperson are mandatory.