
A DIY plunge pool is worth building if you have a level, accessible backyard spot, at least one weekend with two extra hands, and a budget between $3,000 and $15,000 depending on the route you take. It is not worth it if your yard slopes badly, your local code requires permits you’d rather skip, or you’re hoping to save money by doing a concrete in-ground build yourself. The math only works in your favor with kit-based or stock tank builds.
That’s the short version. The long version depends on which of three very different paths you’re looking at, because “DIY plunge pool” covers wildly different projects with wildly different price tags and skill requirements.
The Three Real Paths to a DIY Plunge Pool
Most articles on this topic blur together three separate projects as if they’re one thing. They aren’t, and picking the wrong one for your skill level is the single biggest reason DIY plunge pool builds stall out halfway through.
Stock tank conversion. You buy a galvanized agricultural stock tank, cut in a skimmer and return, add a pump and filter, and set it on a level pad. This is the cheapest and fastest option, often done in a single weekend for under $3,000 all in.
Steel-wall kit with a liner. A packaged kit gives you pre-cut galvanized steel wall panels, a vinyl liner, trim, and fittings. You supply the base prep and labor. This sits in the middle both on price and skill, and it’s the option most people mean when they search for a DIY plunge pool kit.
Poured or block-built shell. You form and pour concrete, or build with concrete block, then add plumbing and a finish. This is the most permanent option and the most expensive to do wrong. It’s also the one where “DIY” gets misleading fast, since most homeowners still hire out excavation, plumbing, and finishing even when they call the project a DIY build.
What Each Route Actually Costs, Broken Down
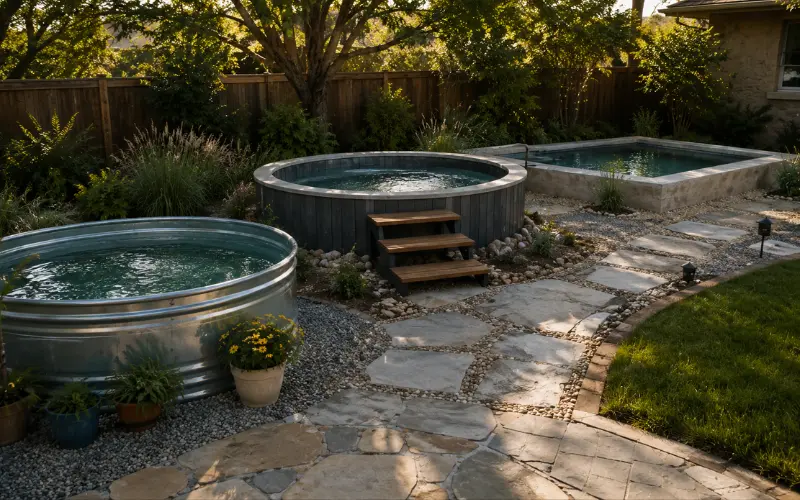
Contractor-installed plunge pools run $10,000 to $40,000 on average, with concrete builds pushing past $50,000 once permits, excavation, and finishes are factored in. Doing it yourself changes that math, but not evenly across all three paths.
A stock tank build typically lands between $1,500 and $3,500: the tank itself, a pump and filter kit, plumbing fittings, and a gravel or paver base. A steel-wall kit with liner runs $3,000 to $6,000 for a 9 to 12-foot round pool before you add a filtration system, which can tack on another $500 to $950. A DIY concrete or block shell rarely stays DIY all the way through. Even homeowners who pour their own walls usually pay $5,000 to $15,000 for excavation, plumbing rough-in, and a proper finish, since these are the steps where a mistake means redoing the entire shell.
| Build type | Typical DIY cost | Skill level | Realistic timeline |
|---|---|---|---|
| Stock tank conversion | $1,500–$3,500 | Beginner | 1 weekend |
| Steel-wall kit with liner | $3,000–$7,000 | Intermediate | 1–2 weekends |
| Poured concrete or block shell | $5,000–$15,000+ | Advanced, often hybrid DIY/hired | 2–6 weeks |
Where Competitors’ Guides Leave You Guessing
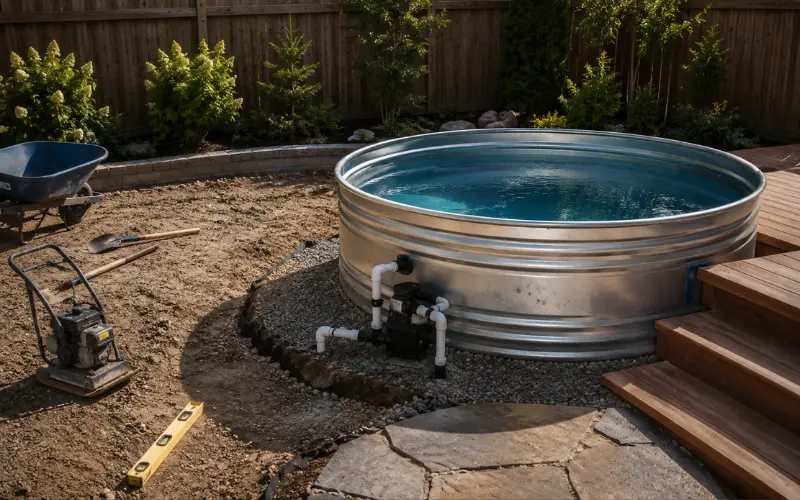
Most plunge pool content either sells you a kit or lists inspiration photos without telling you what happens after delivery. A few gaps show up again and again once you actually start comparing real builds.
Nobody talks about the “second weekend” problem. Kit manufacturers advertise a weekend install, and the wall assembly genuinely can go up that fast. What doesn’t get mentioned is that liner seating, plumbing hookup, and getting the water balanced usually eats a second weekend, especially if this is your first liner pool. Budget two weekends, not one, and you won’t feel behind schedule when it happens.
Permits catch people off guard on in-ground builds. Above-ground kits and stock tanks usually skip permitting in most jurisdictions because they don’t involve excavation or a fixed structure. The moment you go semi-inground or fully inground, most cities require a permit, and some require pool fencing regardless of depth. Call your local building department before you buy materials, not after your walls are up.
Base prep, not the wall system, is what actually fails. Every kit manufacturer will tell you their walls are strong. What determines whether your pool lasts five years or fifteen is the base underneath it. A soft spot in a sand or gravel pad shows up as a bulge or a leak within the first season, and by then it means draining and rebuilding. Compact your base in layers and check it with a level before the wall ever goes up, not after.
Electrical gets underestimated. A basic single-speed pump usually needs a dedicated 120V GFCI outlet on a 15-amp breaker. Add a heater or a chiller and you’re often looking at a hardwired 220V circuit on a 20-amp breaker, which in most areas means pulling an electrical permit and having a licensed electrician make the final connection, even on an otherwise DIY build.
What Nobody’s Kit Instructions Cover: Ongoing Costs
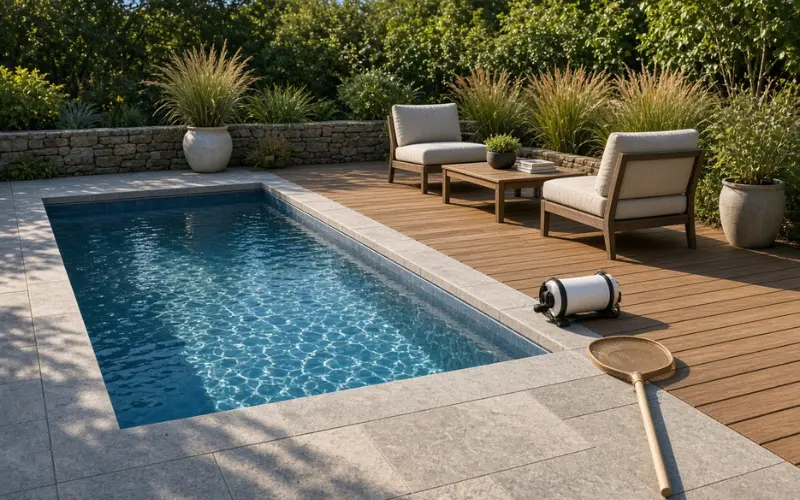
The build cost is only part of the picture. Annual maintenance on a self-serviced plunge pool typically runs $600 to $1,500 depending on your climate and whether you’re heating it. Filter cartridges or cleaning runs $60 to $125 every few months. A liner has a realistic 8 to 12 year lifespan before it needs replacing, which runs $800 to $1,800 depending on pool size. None of this is dealbreaker money, but it’s the kind of ongoing cost that changes whether the “cheap alternative to a real pool” framing holds up over a five-year horizon.
If you’re weighing this against other backyard upgrades, it’s worth thinking about how a plunge pool fits into your broader outdoor living design rather than treating it as an isolated purchase. A pool that sits awkwardly apart from your patio or seating area gets used less than one that’s planned as part of the space.
Is It Actually Worth It? A Straight Answer
Building your own plunge pool is worth it if you value the water more than you value your weekends being free, and if your yard doesn’t fight you on slope or access. The stock tank and steel-kit routes deliver real savings, often 40 to 60% less than a contractor-installed equivalent, and they’re forgiving enough that a careful first-timer can pull them off without specialized tools.
The poured concrete route is where “worth it” gets murkier. You’re taking on structural risk (a cracked or poorly braced concrete wall is not a fixable weekend project) in exchange for savings that shrink once you’ve hired out excavation and plumbing anyway. If you want a permanent concrete plunge pool, a hybrid approach, where you DIY the site prep and finish work but hire a concrete crew for the pour, tends to be the sweet spot between cost control and structural confidence.
One thing worth factoring in that rarely comes up: a well-integrated plunge pool can complement other backyard features rather than compete with them. Pairing a small plunge pool with a nearby diy outdoor fireplace or a shaded modern alfresco seating zone tends to get more actual use out of the space than the pool sitting alone in open lawn.
Getting the Layout Right Before You Dig or Order
Before ordering a kit or digging anything, walk your yard at the time of day you’ll actually use the pool. A plunge pool in full afternoon shade defeats the purpose in most climates. Check that your chosen spot has a straight, reasonably short run to a GFCI outlet, since long pump wiring runs and extension cords are both a code problem and a safety one.
If your yard already has hardscaping, a paved garden area or an existing terrace design often gives you a level, drainage-ready base already, which can cut your site prep time significantly compared to starting from bare lawn. For anyone landscaping around the finished pool, rectangular pool landscaping ideas apply just as well to a small plunge pool footprint as they do to a full-size pool.
Frequently Asked Questions
Can I build my own plunge pool without any construction experience?
Yes, for a stock tank or steel-wall kit build. Both are designed around bolted or pre-cut components rather than skilled trades work. A poured concrete shell is a different story and generally isn’t a good first DIY project.
Is it cheaper to build a plunge pool than to hire a pool company?
Usually, and often significantly. A stock tank or kit build can run 40 to 60% less than a comparable contractor-installed plunge pool, mainly because you’re not paying for labor on excavation, forming, and finishing.
What is the cheapest DIY plunge pool option?
A stock tank conversion is the cheapest route, typically $1,500 to $3,500 including the tank, pump, filter, and a basic gravel or paver pad.
How do I make a DIY cold plunge pool specifically?
A cold plunge follows the same basic build as a warm plunge pool, but you add a chiller unit instead of, or alongside, a heater. Sizing matters more here since smaller volumes chill faster and cost less to run.
Do I need a permit for a DIY plunge pool?
Yes, for a stock tank or steel-wall kit build. Both are designed around bolted or pre-cut components rather than skilled trades work. A poured concrete shell is a different story and generally isn’t a good first DIY project.
How long does a steel-wall kit liner actually last?
Most vinyl liners last 8 to 12 years with regular care. Sun exposure, water chemistry, and how often the pool gets drained and refilled all affect that lifespan.
Can a DIY plunge pool use a sand fill or gravel base instead of concrete?
Yes, and for above-ground kits this is standard. A compacted sand or gravel base, sometimes with a foam pad or geotextile liner underneath, is what most manufacturers recommend rather than a full concrete slab.
What’s the biggest mistake first-time DIY plunge pool builders make?
Rushing the base prep. A wall system that isn’t sitting on a properly leveled, compacted base will develop bulges, uneven water lines, or liner stress within the first season, and fixing it means draining and rebuilding rather than a quick patch.

